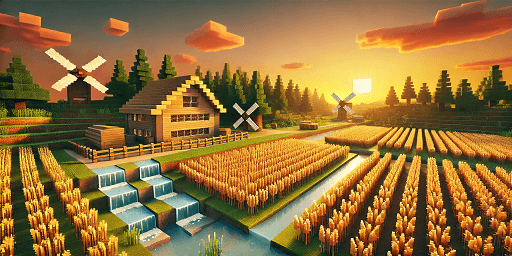
Having enough food is one of the basic requirements to survive in Minecraft. Additionally, wheat is primarily needed for breeding animals. So, in the end, you probably can never have enough of it. However, manually harvesting everything is not an enjoyable task. In the last post about redstone, we already discussed the basic functions of an automatic farm, but today we will put it into action! With this guide, you can build your own automatic wheat farm based on water and redstone.
Minecraft Wheat Farm: Essential Resources for Building an Automatic Farm
Initially, there are some essential resources you should have on hand. How much you need depends on you, as the fields can be built infinitely large. However, for a small farm, you don’t actually need much. We are also focusing on resources that are easy to obtain and don’t cost you much time.
Have ready:
- several stacks of building material for exterior walls (we chose wood)
- several stacks of dirt
- one or more hoes for tilling
- water buckets
- plenty of wheat seeds
- 2x chests
- 1x hopper (made from iron and a chest)
- redstone dust
- approximately 10x redstone repeaters (depending on variation)
Minecraft Wheat Farm Construction Guide: Step-by-Step to Automatic Harvesting
Minecraft Wheat Farm: Build a Collection Basin for Automatic Harvest
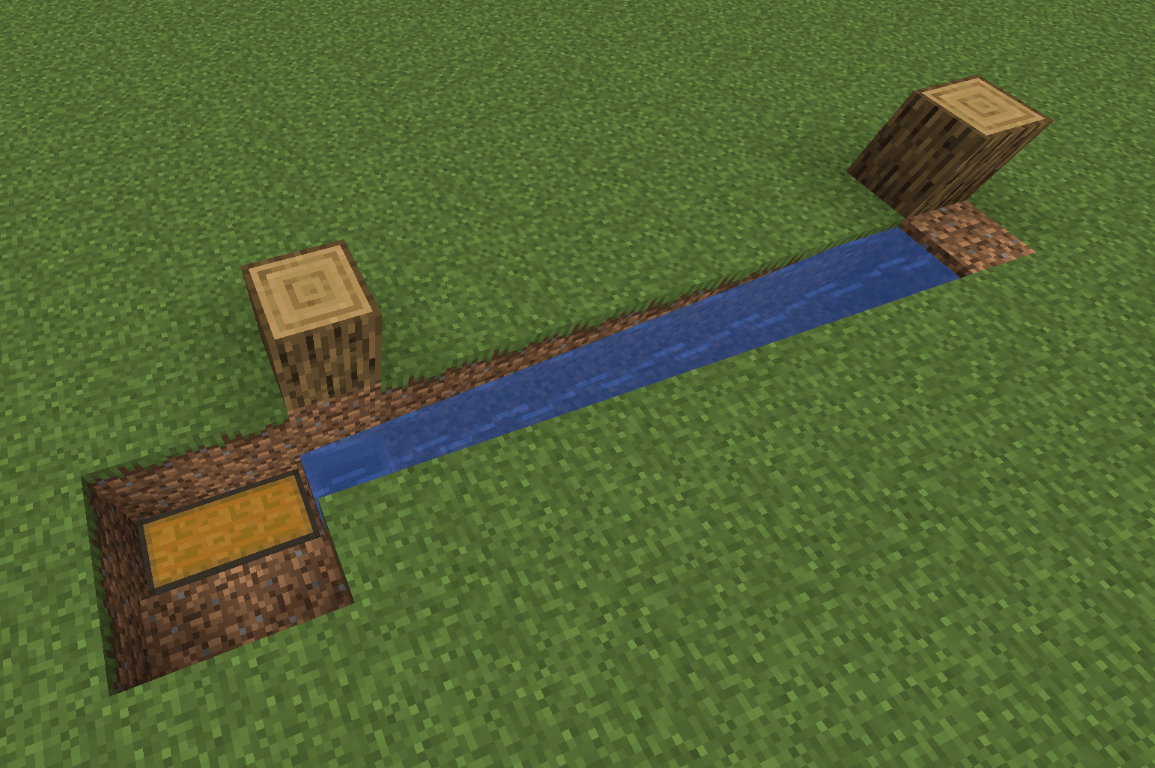
The first step is to dig the trench for the wheat bundles and seeds that will be washed away later. We have already learned that water flows 8 blocks from the source. So, dig 8 blocks deep into the ground. Behind it, you should dig two more blocks for the chests. Place the chests and attach the hopper to the side of the chest using Shift+Right-click. Then you can add water at the other end and let it flow over the hopper.
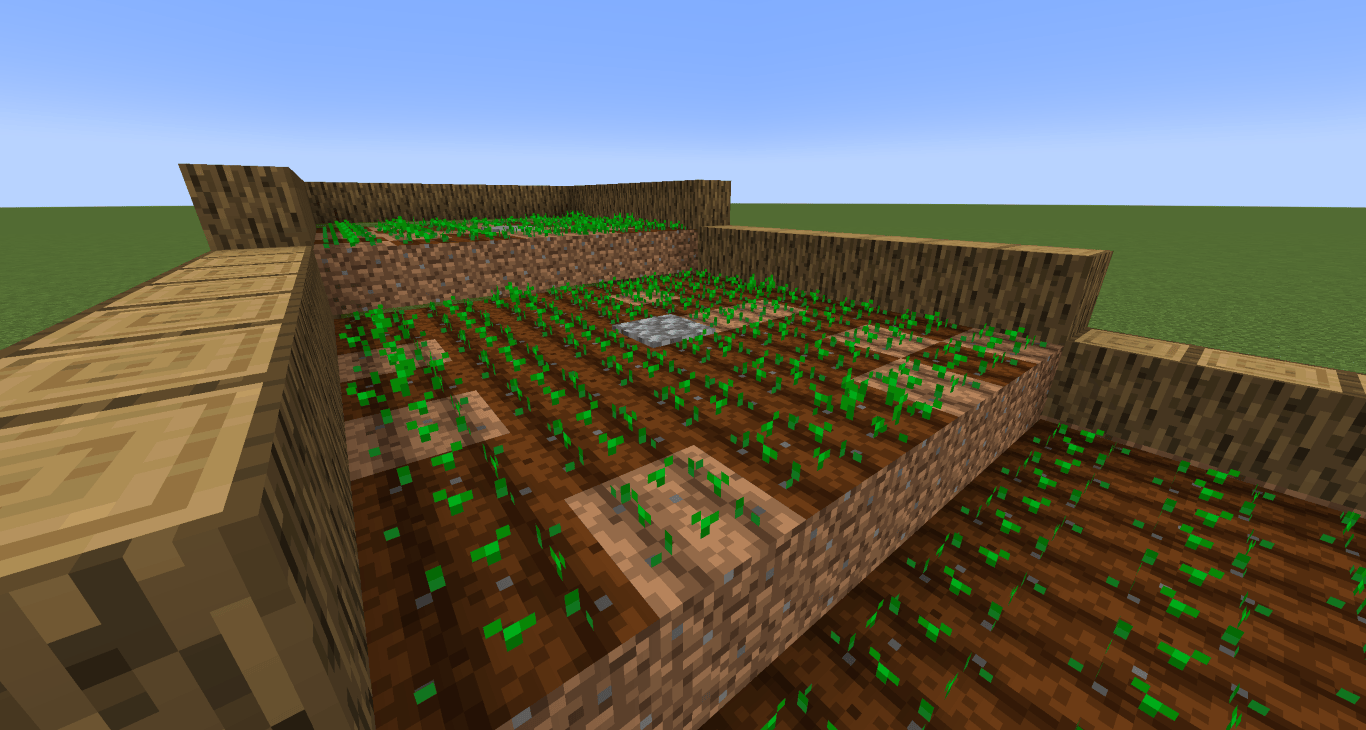
Minecraft Wheat Fields: Efficient Design for Large Harvests
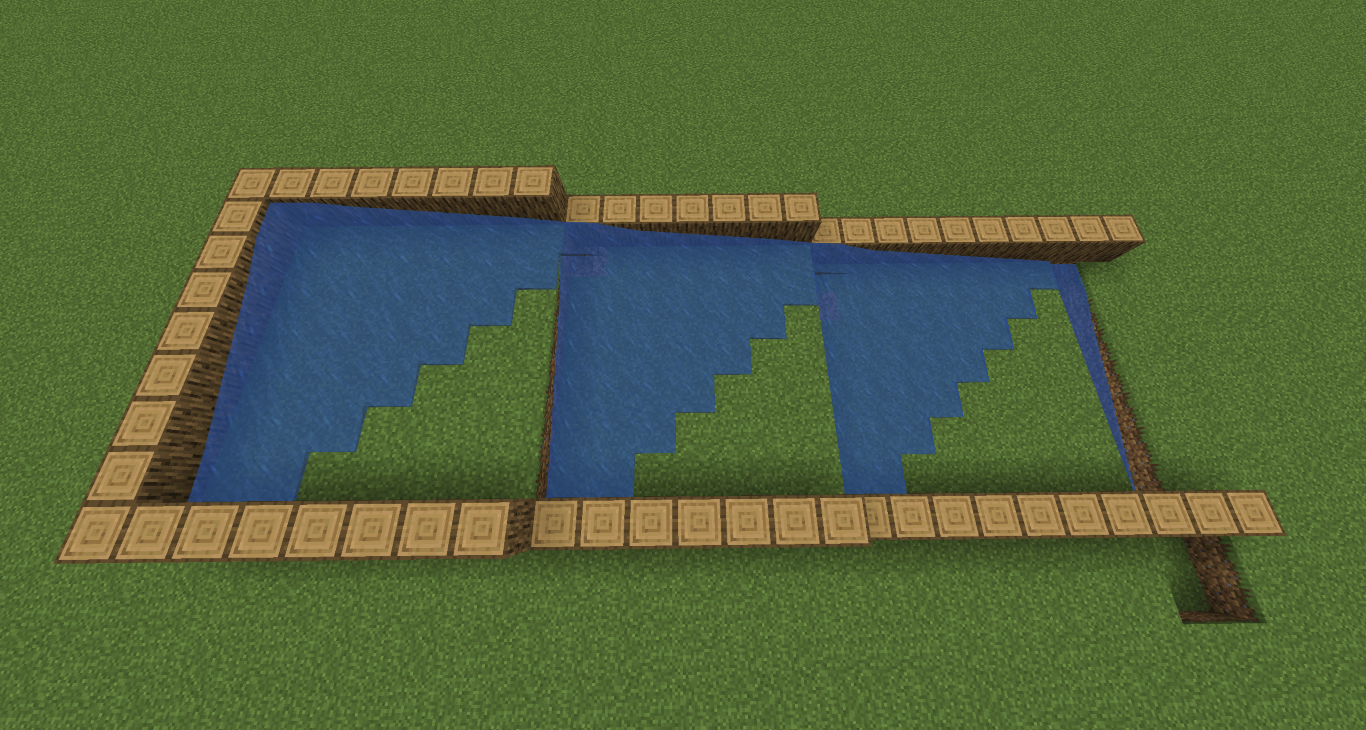
At this point, the size is entirely up to you. Automatic farms of this type operate on the principle of water, so they look similar to rice fields in Asian countries. The tiers provide plenty of space for planting and can be extended infinitely.
The lowest tier should be 8 blocks deep (again, the reach of water). All tiers above should be one block higher and only 7 blocks deep. This way, you only need one water source at the top for harvesting. This creates a kind of staircase. The width is irrelevant, but based on the trench below, 7 blocks are also ideal here.
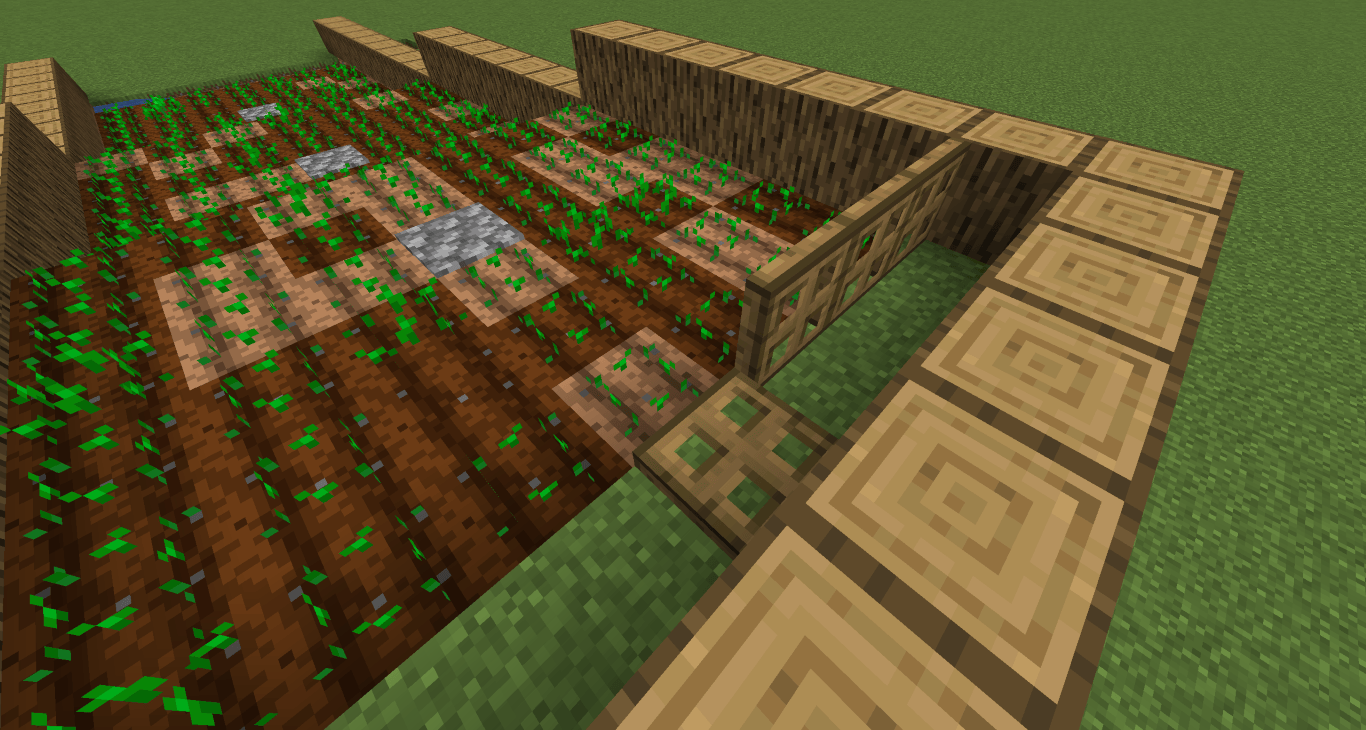
Minecraft Wheat Farm: Water Sources and Planting for Optimal Harvest
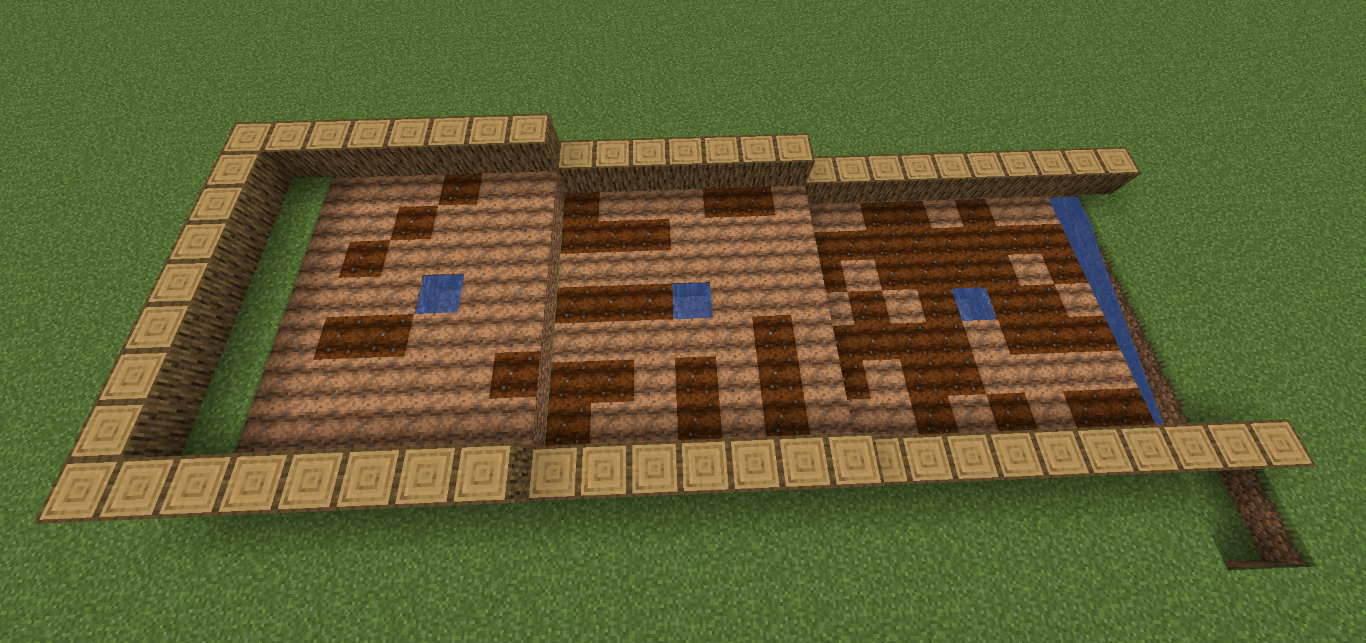
A good field naturally needs a water source. Some tutorials use a parallel trench running from top to bottom, but we won’t do that. We place the source directly in the field. Although we lose three blocks this way, you will have more than enough wheat in the end. This method is much simpler.
We have already learned that water sources hydrate fields 4 blocks away. And since our fields are only 7x7 or 7x8 blocks, this fits perfectly! Place the water source symmetrically in the middle of the field.
You should later cover these water sources with a slab or trapdoor. Nowadays, these blocks can be filled with water, which is very practical. Even if you can’t see the water, it’s still there.
Now, till the field, but leave a strip at the top for the future harvesting mechanism. Otherwise, all fields should be adequately watered. Then plant your wheat with the seeds to let everything grow in peace.
Minecraft Wheat Farm with Redstone: Automation Made Easy
Now comes what is probably the challenging part, but don’t worry, it’s actually not that complicated! First, we bring our trapdoors at the top of the row we left open. Attach them from above to the grass block below. Test if they fold up towards the field. In the end, however, you should fold them all down to connect the redstone.
Trapdoors hold back the water, but don’t pour it into the channel yet. Wait until everything is ready. You can now easily lay the redstone on the edge behind it and attach a lever at the end. This should cause the trapdoors to fold up. The block below transmits the redstone signal to the trapdoors. But somehow it looks a bit messy.
Therefore, we relocate our redstone behind it and take a look at a peculiarity. Redstone cannot run parallel. This is a bit inconvenient for us, but nothing serious. Use repeaters to help, which run into the block behind the trapdoors. Then everything should work smoothly!
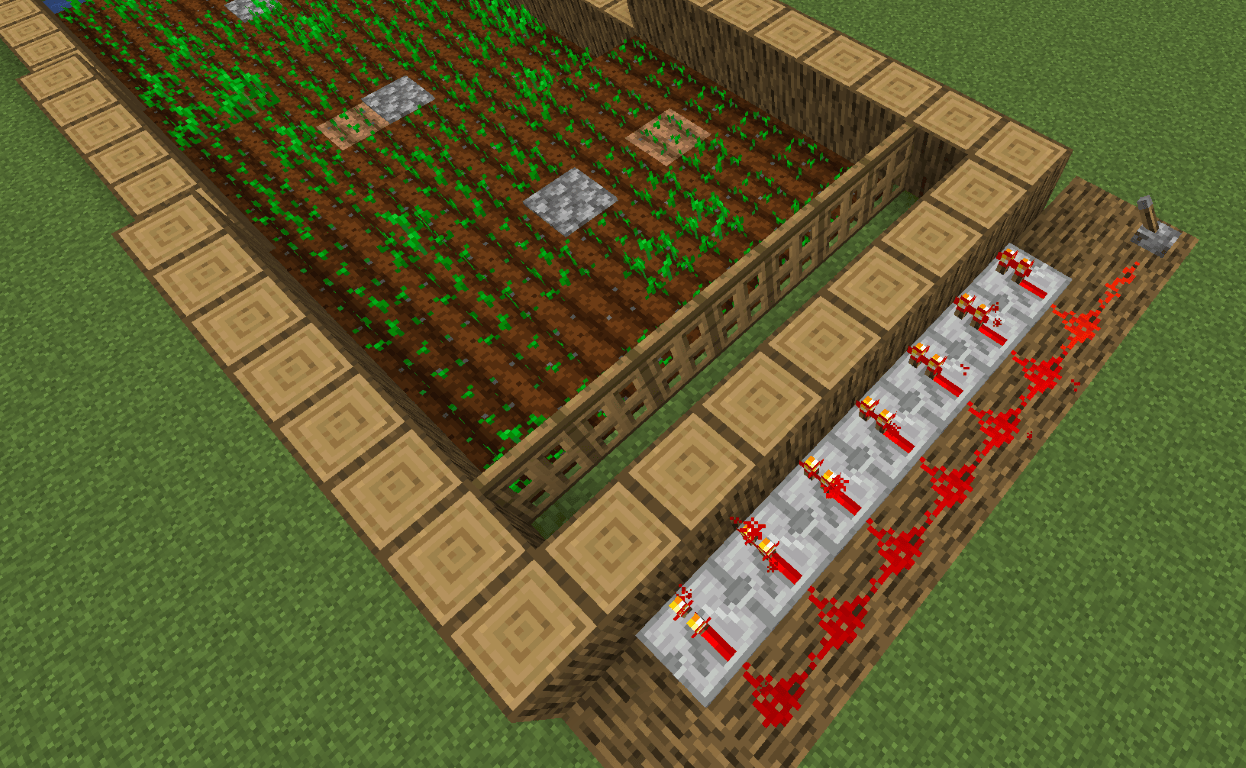
You can then run the redstone all the way to the front to the chest to have everything in one place. Use repeaters to ensure the signal is transmitted. Build a kind of cable duct along the fields. In the end, you should set a lever and turn on the circuit. The trapdoors will open.
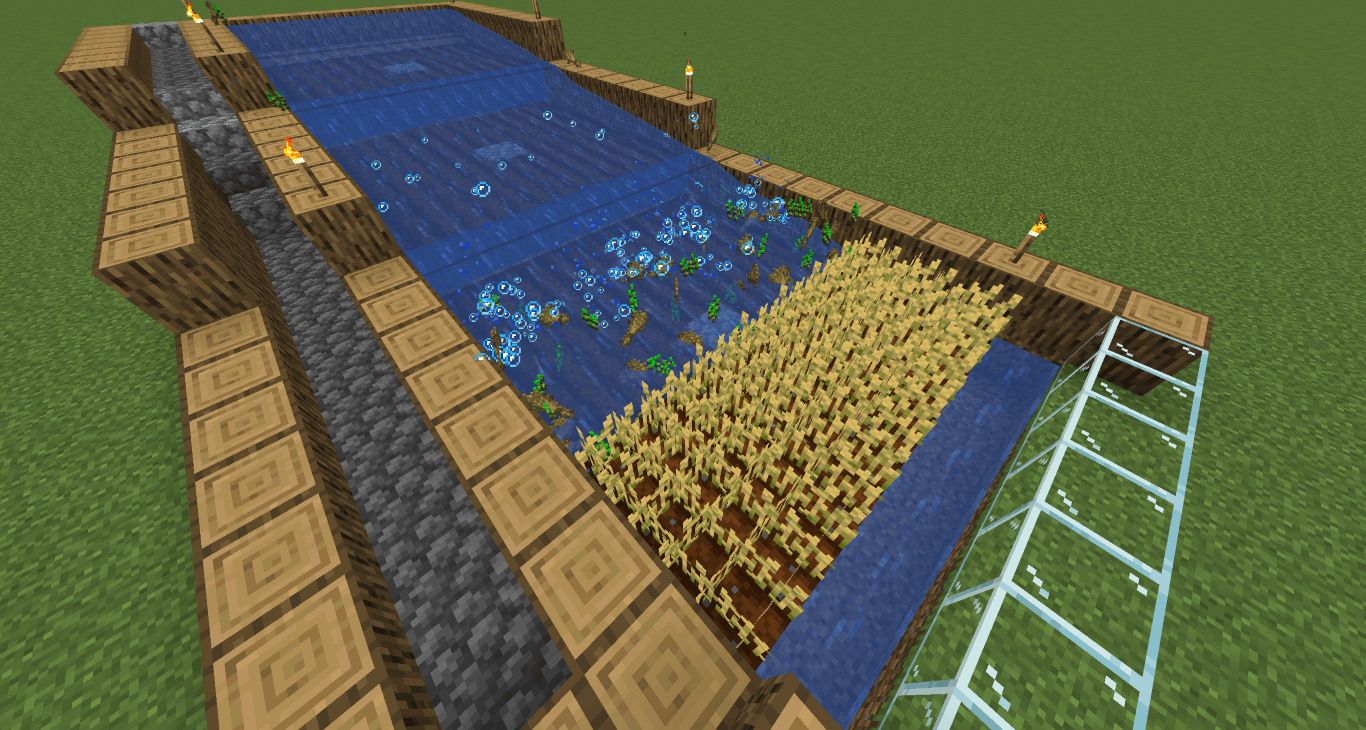
Minecraft Wheat Farm Harvest: Automatic Wheat Harvesting with Water and Redstone
If you’re sure your redstone works, you can fill the trapdoors at the top with water. Click on the grass and NOT on the trapdoor itself, as this will cause it to fold.
Now it’s probably time to wait, as your wheat needs to grow. This can take a few days, but you can speed it up with bone meal. However, for such a large field, it’s not really worth it; do something else and harvest the field when all the wheat plants are golden yellow. Flip the lever and watch the water rush down! The wheat and seeds should either end up in the chest or above it if they’re too fast.
Now you have multiple stacks full of wheat and certainly even more seeds. Unfortunately, you have to replant these manually, as there is no automated way for that (besides villagers). Repeat the process later or expand the field with other crops like potatoes or carrots.
Conclusion: Why an Automatic Wheat Farm in Minecraft Changes Your Game
An automatic wheat field on your farm is practically a basic necessity! Eventually, you will have more than enough wheat for bread and your animals. And the fields also look nice and can be lined up. Automate not only your farm but your entire gaming experience on your own server. Rent a Minecraft server and take your farm projects to a new level! Play either alone or with friends to build massive farms.