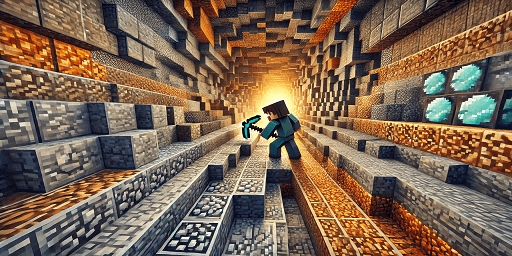
In Minecraft, digging for valuable resources like diamonds, iron, and redstone is one of the most important activities. With the right mining techniques, you can mine more efficiently and quickly improve your tools. Since the early versions, finding diamonds has been crucial to progressing in the game. They allow you to significantly upgrade both your tools and armor. Nowadays, there are many other resources you should be on the lookout for. A mine is perfect for occasionally digging for blocks. But how should you go about it?
In this post, we’ll take a closer look at various mining techniques. Since many fundamental aspects have changed with the 1.18 update, this can be confusing for returning players. Even old veterans can benefit from a refresher. So, let’s dig together into the depths of the Minecraft Overworld!
Minecraft World Generation and Heights for Optimal Ore Mining
Minecraft is now over 15 years old, so it’s no surprise that some aspects have fundamentally changed. The last major change related to mining was introduced with the “Caves & Cliffs” update and version 1.18. With the introduction of the update, the height of the world was adjusted. It can now be generated from 320 blocks up and -64 blocks down. As a result, there was also a significant change in ore distribution. Additionally, a new block called Deepslate was added from height 0, making the transition underground even more distinct.
Height is especially important in mining because it determines where certain ores can be found. In the Java version, you can display the coordinates with F3. In the Bedrock edition, this is directly integrated and displayed normally. Use this function to prepare for work in the mine.

Minecraft Ores: Distribution, Ideal Heights, and Uses
Of course, you should also know what you actually want to find underground. Diamonds are one thing, but there are many other resources that are important. Therefore, we provide you with a compact overview of all the ores you can mine!
Coal
- Use: Torch, Furnace
- Height: 0 to 320
- Ideal Height: 136, 95
- Biomes: everywhere
Copper
- Use: Copper Blocks, Telescope, Lightning Rod, Brush
- Height: -16 to 112
- Ideal Height: 43
- Biomes: everywhere, more common in dripstone caves
Iron
- Use: Tools, Armor, Rails, Anvil, Hopper, etc.
- Height: -64 to 72 / 80 to 320
- Ideal Height: 14, 232
- Biomes: everywhere
Gold
- Use: Tools, Armor, Clock, Trading with Piglins
- Height: -64 to 32
- Ideal Height: -16
- Biomes: everywhere, more common in Badlands
Lapis Lazuli
- Use: Dye, Enchanting
- Height: -64 to 64
- Ideal Height: -2
- Biomes: everywhere
Redstone
- Use: Redstone
- Height: -64 to 16
- Ideal Height: -58
- Biomes: everywhere
Diamonds
- Use: Tools, Armor, Armor Decorations
- Height: -64 to 16
- Ideal Height: -58
- Biomes: everywhere
Emerald
- Use: Trading with Villagers
- Height: -16 to 320
- Ideal Height: 85, 236
- Biomes: everywhere, more common in mountainous biomes
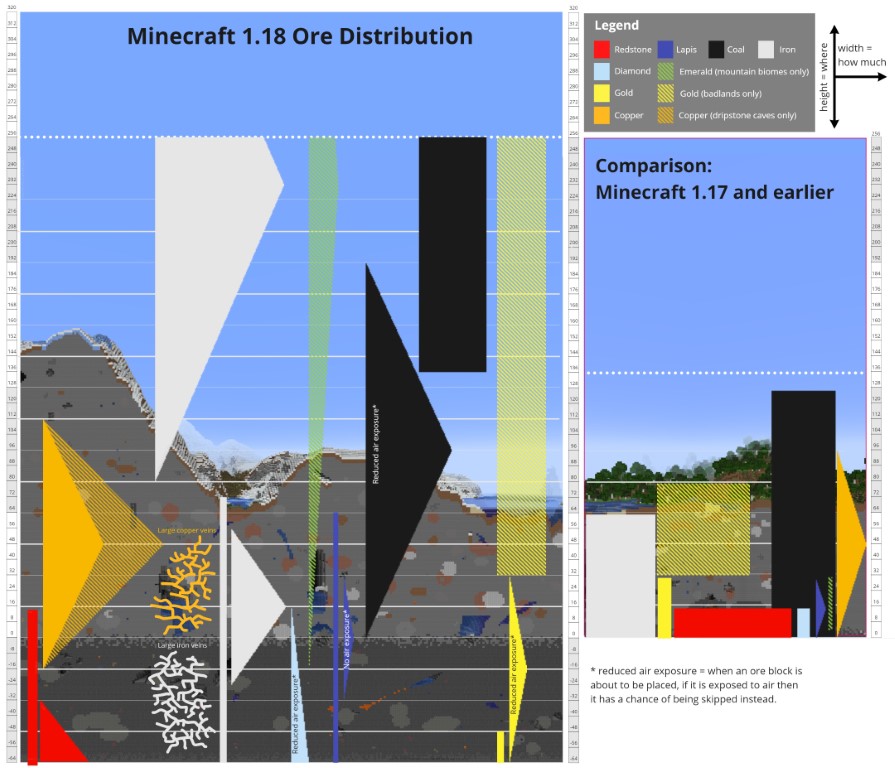
Ore Veins: Both iron and copper can occur in so-called veins. This means that the ores stretch over many blocks. You can sometimes mine over several hundred ores here! Copper is often recognized by granite, while iron is associated with tuff.
Minecraft Mining Techniques: Strip Mining, Branch Mining, and More
Now you hopefully know exactly where you can find specific resources in your Minecraft world. Height is especially important if you want to mine strategically. This gives you the best chances of collecting important resources. If you want a height where all resources are possible, then height 8 is a good start! Otherwise, you can simply follow the ideal heights mentioned above if you’re looking for specific resources.
Minecraft Mining on Mountain Peaks: Find Valuable Ores at High Altitudes
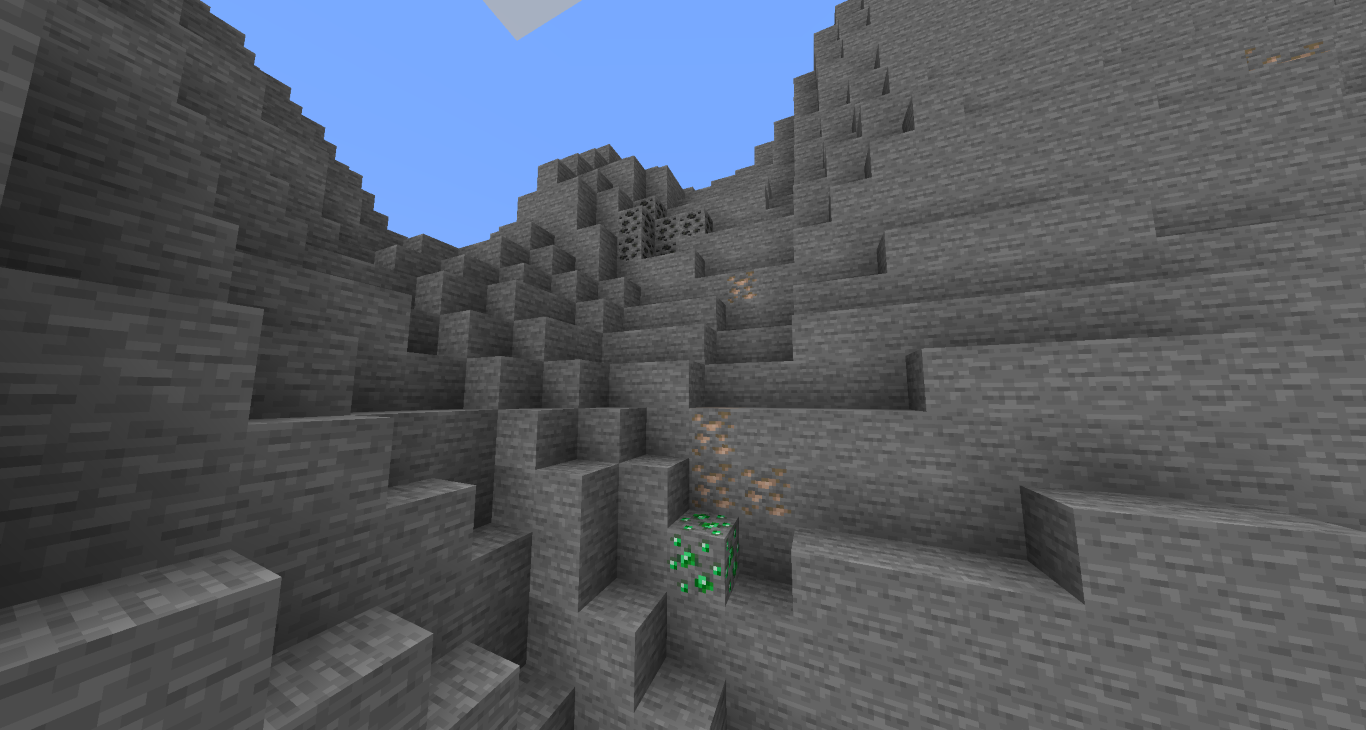
Yes, surprisingly, you don’t even have to go underground to obtain some of the resources. As you can see from the distribution, some ores spawn higher up, so a mountain hike might be worth it. Particularly in the biomes “Stone Peaks” and “Jagged Peaks,” you’ll find them here! You can find both coal, iron, and emeralds here. And the best part is that you can see them directly.
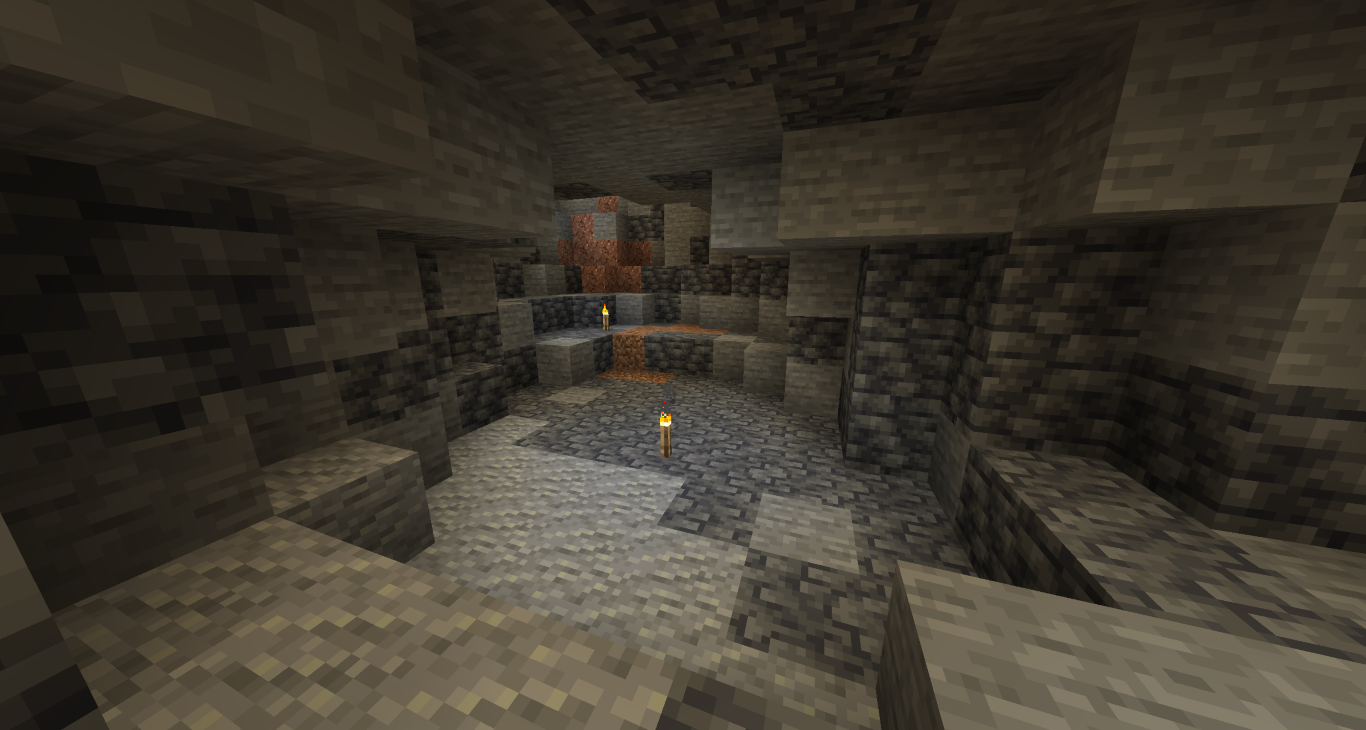
Cave Tours in Minecraft: Discover Ores in Natural Caves
If you don’t want to dig tunnels, you can simply take a normal cave tour. On your way down, you’ll collect many ores that are exposed. However, from the graph above, you can see that some ores have reduced exposure to air, making this method significantly less efficient.
Minecraft Strip Mining: Effective Method for Maximum Ore Find
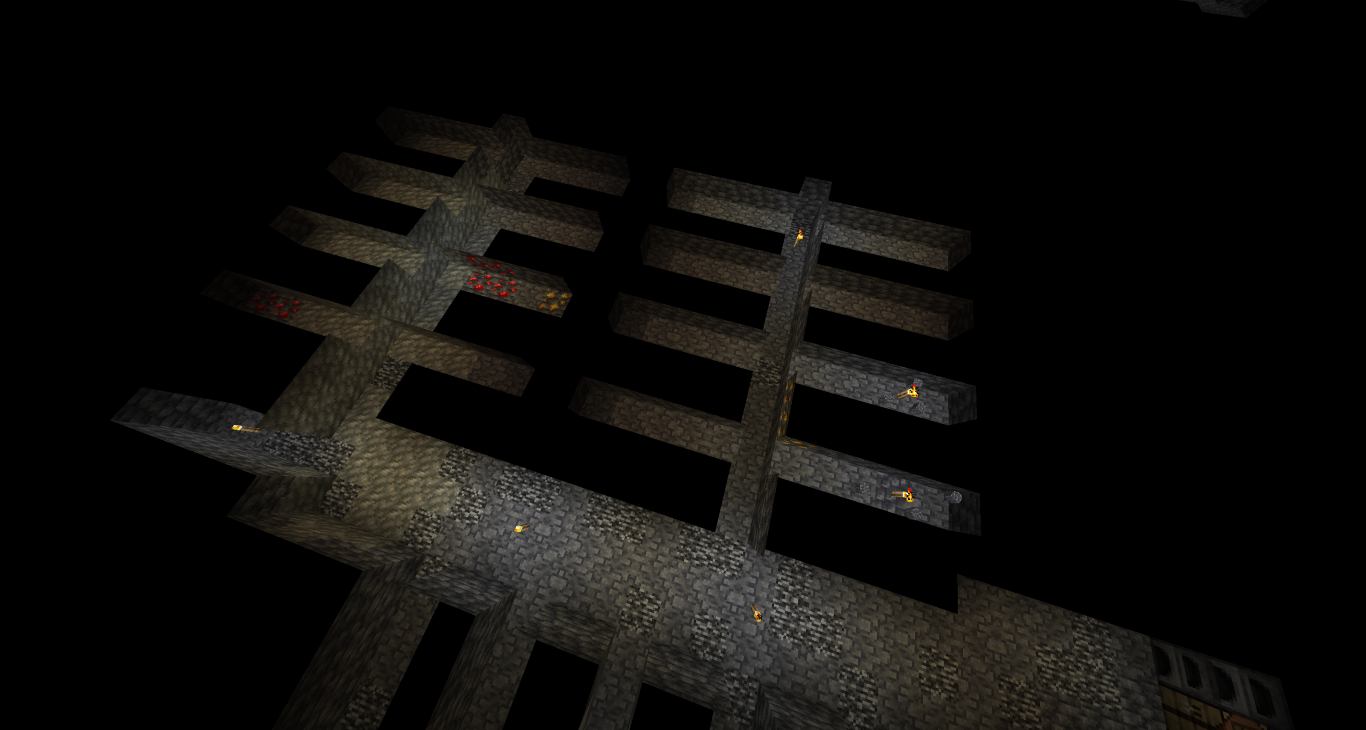
The simplest method for mining is still strip mining. “Strip” here stands for “stripe,” which represents the pattern of this method. Dig to your desired level and proceed in tunnels with two-block spacing. This way, you’ll find almost every ore in your vicinity. You can extend the tunnel infinitely, but it’s worth adding a side passage every 200 blocks.

Minecraft Branch Mining: Preserve Your Tools and Find Ores
Branch mining works similarly but is a bit gentler on your pickaxe. The word “branch” could be translated here as a branch, like on a tree. Again, long tunnels are your starting point, this time 12 blocks apart. In each tunnel, you make a kind of “test dig” to the side, each 5 blocks and again with two-block spacing. This way, you expose almost every block in the vicinity.
Minecraft Safety Measures: Tips for Safe Digging Underground
Finally, we want to give you a few tips, tricks, and safety measures to take with you. This way, you can safely move underground!
- Never dig directly down! Otherwise, you might land in lava or die from fall damage.
- Watch out for lava in walls or on the ground and bring a water bucket if necessary to turn lava into obsidian.
- Use torches not only as a light source but also for orientation. Always place them on the right to find your way. You can also use signs.
- Use the right pickaxe to mine ores. At least a wooden pickaxe for coal, a stone pickaxe for copper, lapis lazuli, and iron, and at least an iron pickaxe for gold, redstone, diamonds, and emeralds.
- Avoid mining near the “Deep Dark” biome to avoid awakening the Warden.
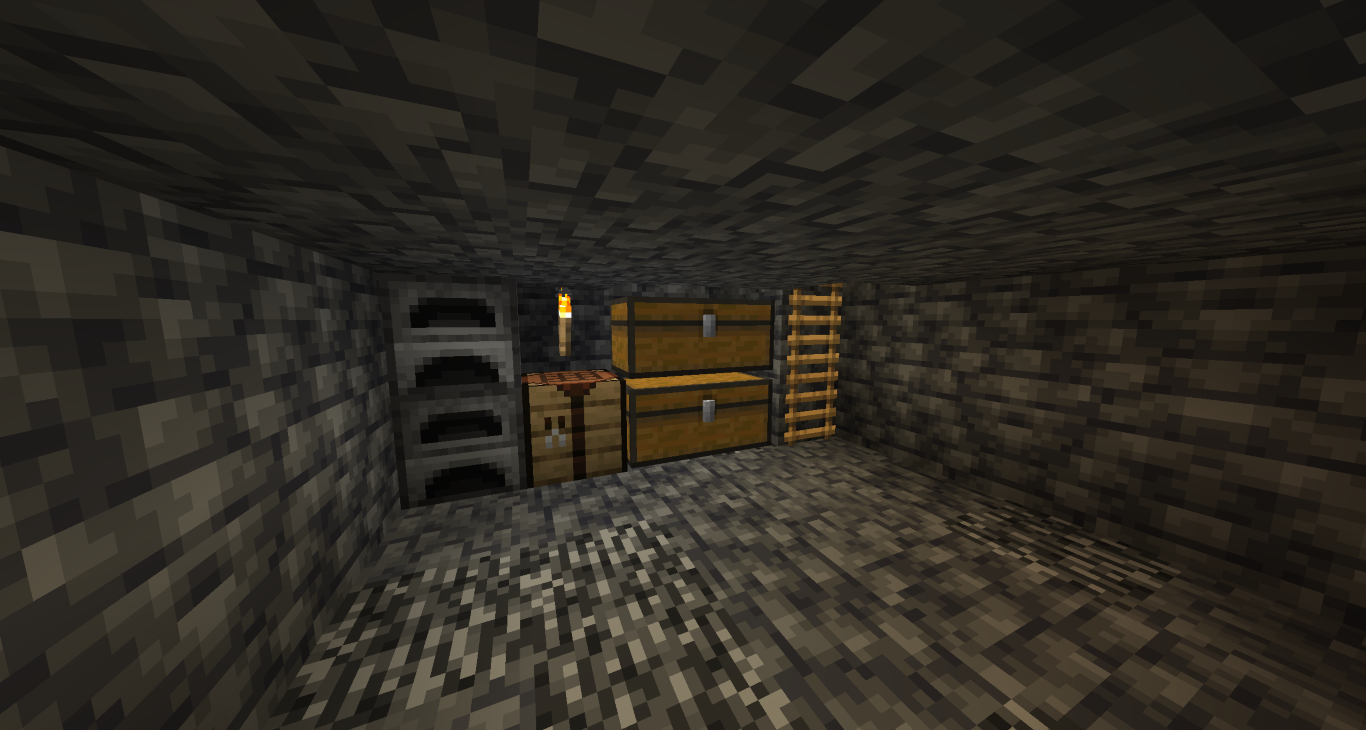
- Build a small base underground to collect resources and smelt some of the ores.
Conclusion: Why Efficient Mining Techniques in Minecraft Are Crucial
The “Mine” in Minecraft is important for a reason. A lot of essential resources can be found underground, from redstone to valuable diamonds. Therefore, targeted excavations are one of the best ways to obtain these resources. Use one of the options mentioned to excavate a large mine. Efficient resource management is even better when you can do it on your own server. For projects like this, Minecraft server hosting for mining projects helps you control your environment like never before! Additionally, your fellow players will surely help you dig. You can also share or trade resources with each other.