Minecraft is a creative sandbox game where you can break down and rebuild almost any block. This gives you endless possibilities to shape your world as you wish. Most players eventually focus on building, gradually expanding their world. However, with so many blocks and an almost infinite world, it can be tough for beginners to get started. But don’t worry! No master builder has fallen from the sky. It’s perfectly fine to start slowly, and you’ll get better over time.
That’s why we’re providing you with a simple guide that you can repeat for all your future projects. With this, nothing will stand in the way of your first building project!
What Do I Actually Want to Build?
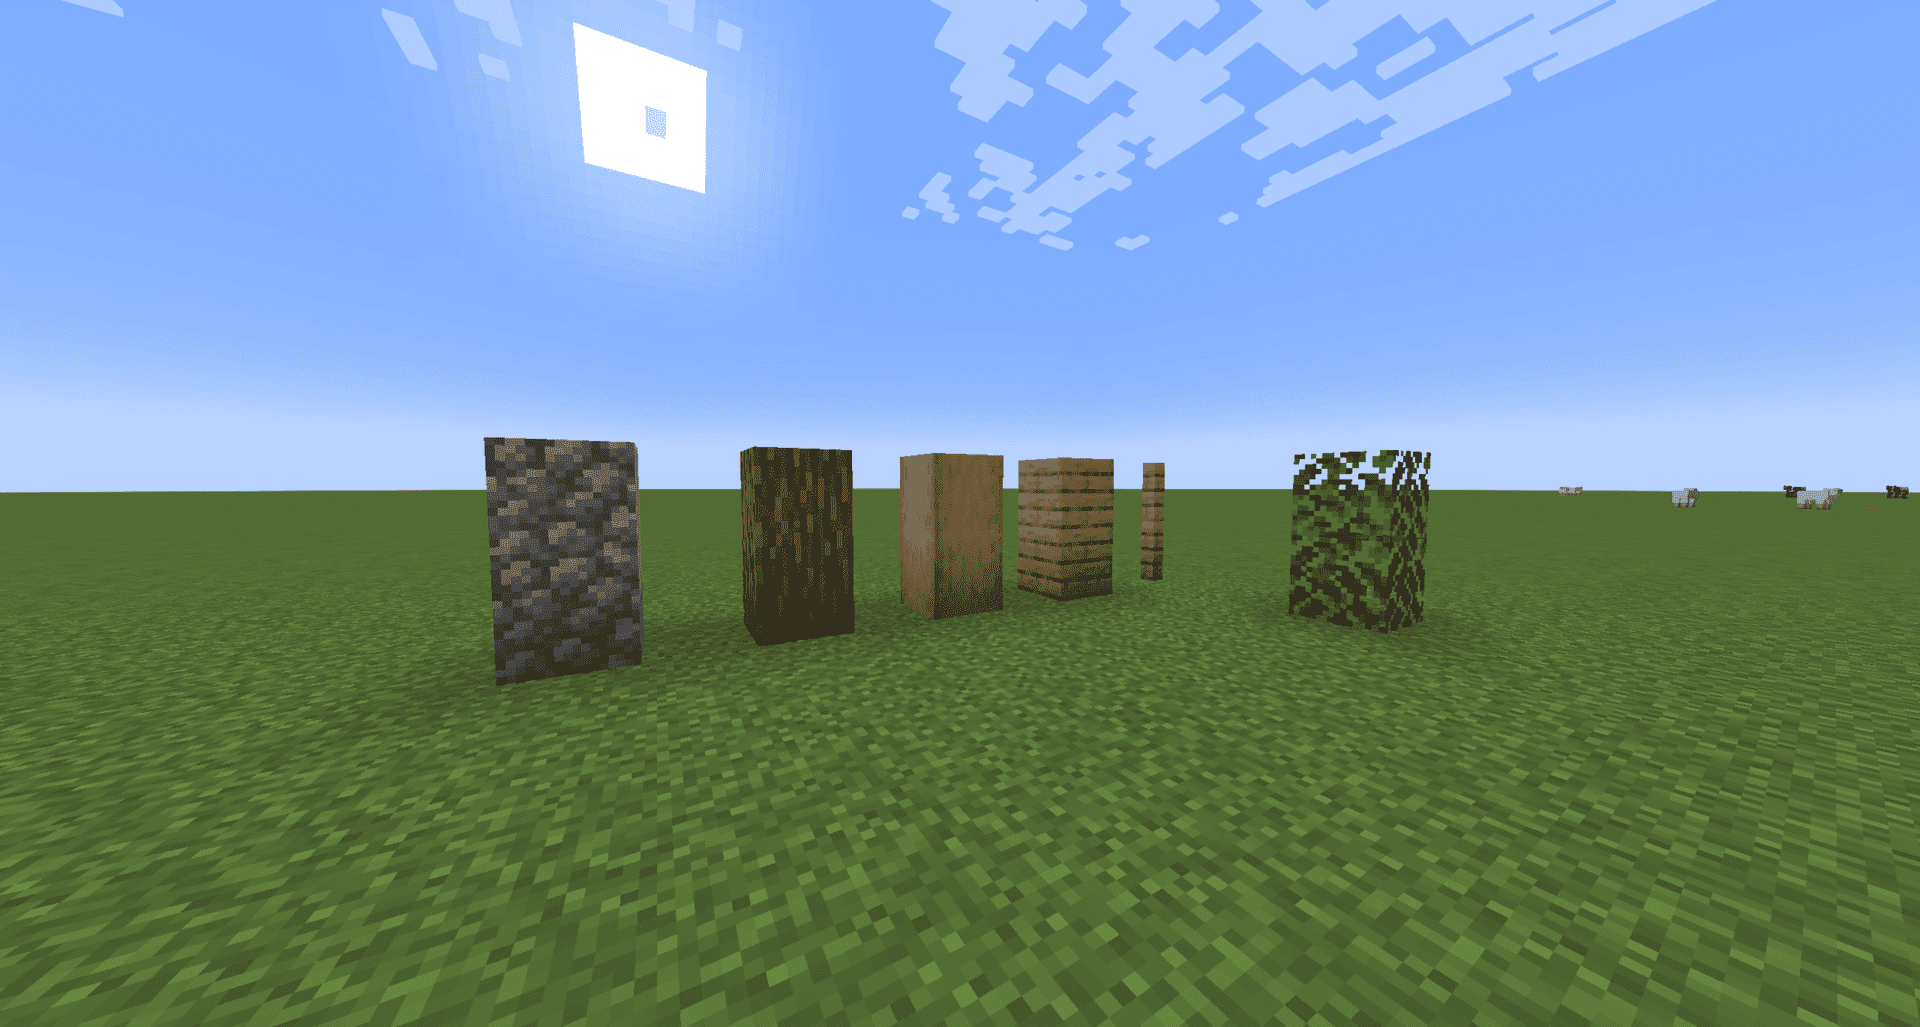
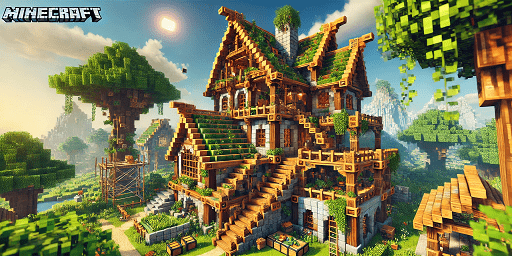
First, you’ll probably be wondering what exactly you want to build. Well, we can’t decide that for you, but at the beginning, it’s worthwhile to orient yourself towards known structures and build something relatively simple. Since Minecraft’s block palette focuses on natural resources, especially at the start, a medieval building style is a good idea. Wood, stone, and maybe even some wool are easy to obtain and go well together.
Purpose and Function
Consider the purpose of your project. Will it be your permanent home, complete with a storage area and other amenities? Or should the house just look nice? This will also determine the style and construction method. As in real life, function dictates appearance.
Lore and Context
Maybe you want to build a large fantasy world, in which case you should try to maintain a consistent style. This way, all your buildings will look similar in the end. Finding a theme to guide you is a great starting point.
Finding Inspiration
You don’t have to rely entirely on your imagination, as there are SO many great places online where you can admire other builds. You’ll never run out of ideas.
Get inspired by:
- MinecraftBuilds Subreddit
- YouTube
- Google Images
Planning Phase and Tests
It’s always a good idea to plan your build in Creative Mode first. Whether you use a Superflat world or the seed from your Survival world is up to you. Either way, use Creative Mode to your advantage, as it provides you with unlimited resources. Additionally, you can easily try out different building styles and materials. And being able to fly is very cool and incredibly practical!

Finding a Location for Your Building
When you’re ready to transfer the building to your normal world, you should first find a suitable location. For a simple house, a flat area, perhaps right next to your farm, will suffice. But you can also build into a mountain or cave, as you prefer! Keep in mind that your choice will likely be your first permanent base. Access to resources and a nice view are important considerations.
Selecting and Gathering Resources
Since you’ve already built your house in Creative Mode, you should have a rough idea of which blocks you need. As mentioned, natural resources like wood and stone are most worthwhile at the beginning, as they are easy to gather and break down.
A fixed colour palette doesn’t hurt either, to maintain consistency. Minecraft now offers so many blocks that it can be overwhelming. Stick to a few colours and try to build with them. Check out Block Palettes for good combinations. Style and mood play an important role here, but you don’t need to worry too much about it at first.
Creating a Framework
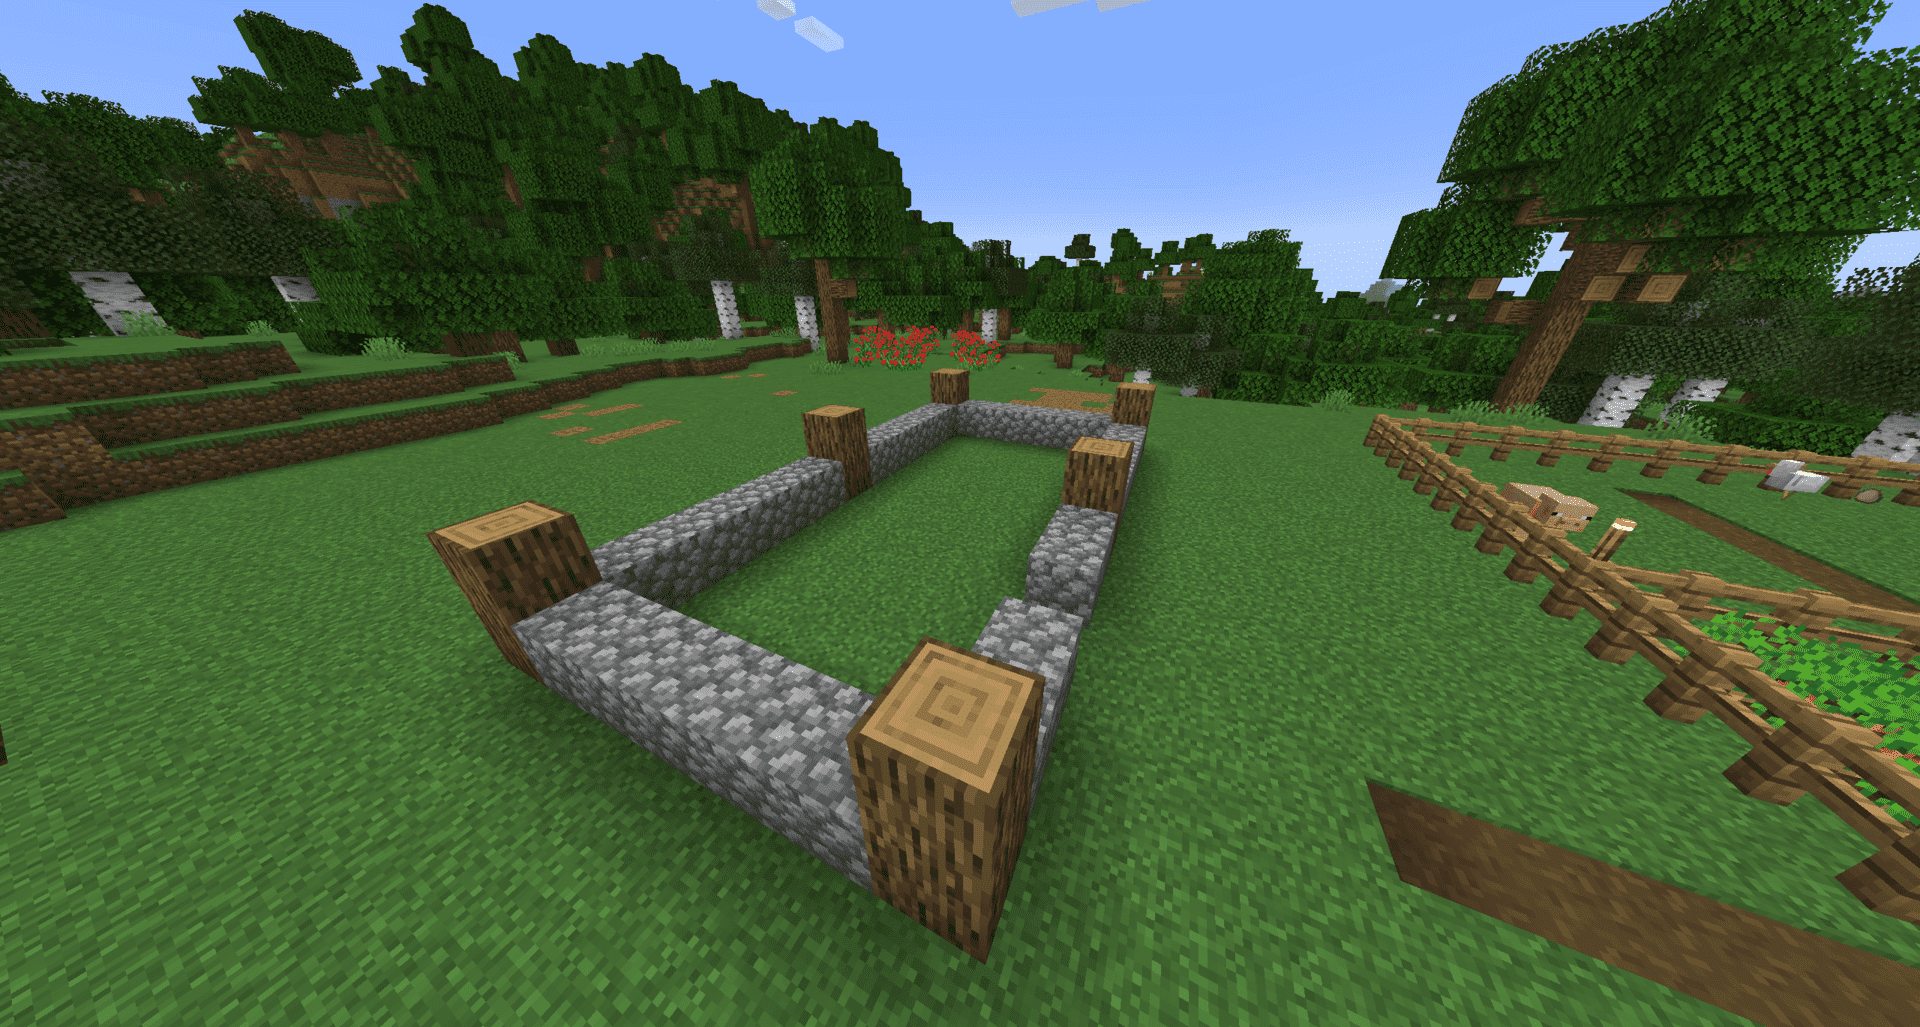
It’s easiest to work from the general to the specific. Therefore, you should start with a framework you can work with. The larger the building project, the more extensive this basic planning should be. You can also use coloured wool or terracotta blocks to mark certain regions. However, for a small beginner house, this isn’t really necessary.

Start with the building plan and pillars to see if your dimensions are correct and if the area you’ve chosen is sufficient. You don’t have to stick entirely to your house from Creative Mode, but it’s a good guide for your first steps. Then fill in all the blocks that are still missing. Gradually, your first house in Minecraft will take shape! Using dirt or bamboo scaffolding can make building much easier.

Depth and Detailing
Once the rough structure of the house is finished, you can already be proud of yourself! However, this was probably the quickest part. This is where the 80-20 rule comes into play. The first 80% of the build will only take about 20% of the time. The detailing, though only the remaining 20%, will likely take you 80% of the time. So take your time to beautify your house.
Work primarily with depth and avoid flat areas. This is easier said than done in Minecraft, as everything is based on blocks. However, there are now many decorations that can add depth to your house. If you can’t find specific blocks, go back to Creative Mode and look for them in the menu there. Or check out the Minecraft Wiki.
Outside, you can also use greenery, as there is a lot of it in Minecraft. Use vines, leaves, flowers, grass, and other natural resources to your advantage!
Adding the Final Touches
The final details can take a lot of time and patience. Start with the interior decor. A lot can be done here, but always keep the balance between usability and appearance in mind. You need to be able to access everything, but it should also look nice. Even a rudimentary setup can make a big difference.

However, a project in Minecraft is rarely finished, as you’ll likely always discover new blocks and resources that you want to incorporate into your house. Don’t hesitate to tear down and rebuild things. After all, this is Minecraft, where anything is possible!
Conclusion
Minecraft is probably one of the best games to let your creativity run wild! You can achieve almost anything you can imagine. And it all starts with a simple home for your first shelter. From there, you can improve your building skills and take on larger projects over time. But you don’t have to play alone.
Why not build your dream house on your own Minecraft server, where you can share it in a stable environment with friends? Rent your own Minecraft server and take your building project to the next level! Building together is much easier, and you can complete huge builds in no time.
More interesting articles
Build a modern Minecraft house: materials, tips, ideas
Minecraft Interior Design: 8 Pro Tips for Décor & Design
Advanced Minecraft Building: Create Your Dream World
Building a Minecraft megabase: Guide to planning, location & storage
Surviving in a Minecraft Superflat World: The Ultimate Guide


