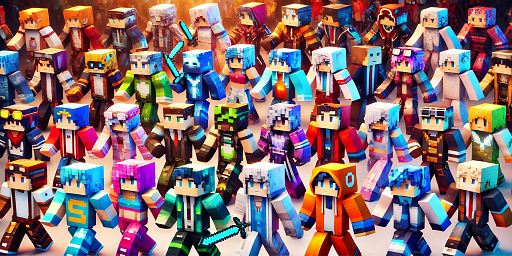
Anyone who has played Minecraft for a while will eventually come across the term “skin.” New players who might not be very familiar with video games may not know what it is. A skin is a cool way to customize your character in Minecraft to your liking, enhancing your gaming experience significantly. For instance, if you want to set up Minecraft server hosting for friends, you’ll likely want all players to look different and not just be distinguishable by their nicknames.
What Are Minecraft Skins?
When we talk about skins in a video game, not just in Minecraft, we’re referring to a way to change the appearance of something or someone. In most cases, there are no improvements to stats or values; it’s purely a cosmetic change.
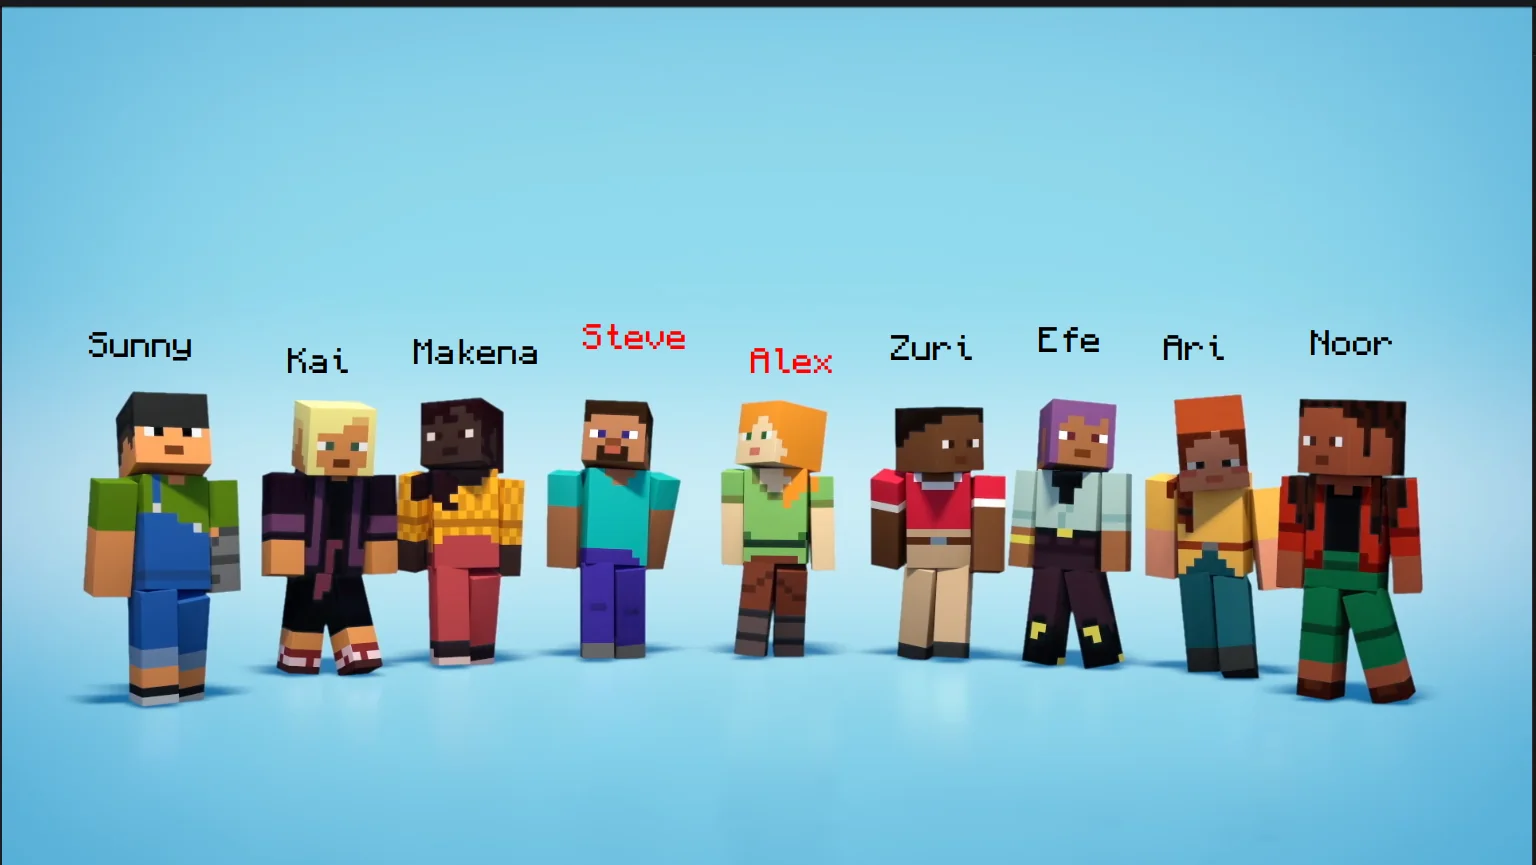
In Minecraft, a skin refers to the appearance of the character. Most people are familiar with the default character, prominently featured on almost every poster and advertisement for the game: a man in a light blue T-shirt and jeans. This typical look is what we think of when we think of Minecraft. The character was named “Steve” early on, though there’s no detailed background for the name to this day.
Shortly after, a female variant named Alex was added, featuring a green shirt, brown pants, and red hair. Her model is also slightly thinner. Nowadays, there are a dozen of these pre-made skins you can choose from in both the Java and Bedrock Editions.
The cool thing about Minecraft skins is that you’re not limited to the pre-made versions. You can create or download your own skin! We’ll show you exactly how that works.
Where Can You Download Skins?
As mentioned, you don’t have to stick to the default skins like Steve or Alex; you can download your own skin. Many talented creators have been filling the internet with a huge variety of textures since the early days of Minecraft, which you can use freely. These are free and available to everyone. They are essentially just .png files that you can use later.
Note: When downloading, remember whether you have a wide or slim character. The preview will show you if there’s an error and if the texture doesn’t align correctly with the model.
Popular Websites for Skins:
For Bedrock players: You also have the option to install skins from various packs available in the Marketplace. These often come at a cost, though some are free.
Can I Create My Own Skin?
You don’t necessarily have to use a pre-made skin if you can’t find one that suits your taste. Maybe you want to create yourself, but that requires some hands-on work. It’s easier than you might think! Even without great artistic talent, it should be no problem.
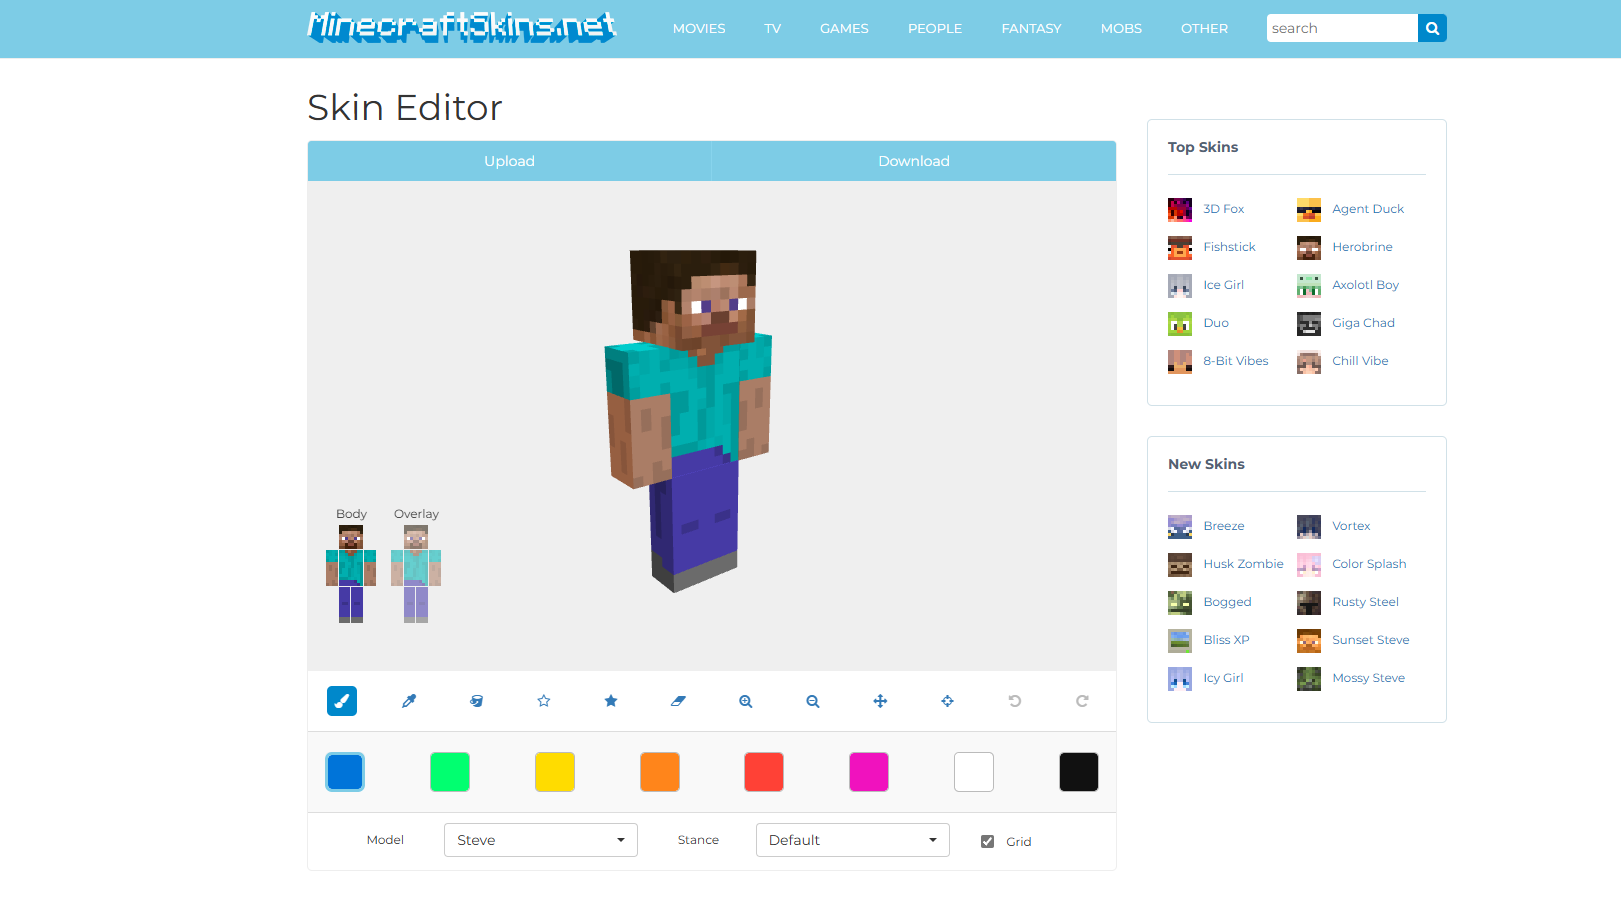
The best website for quick and easy editing is the Skin Editor from MinecraftSkins.net. You can load a default skin or one from the catalog and paint the 3D model to your liking. Choose between the normal and slim skin here as well.
You can also download templates from the official Minecraft Help Website and edit them in any image editing program of your choice. This can be done with Photoshop, GIMP, and even Paint if you have no other options.
Tips for Creating Skins
One of the most important points is that a Minecraft skin has two layers. The bottom layer is always visible, while the top layer is intended for accessories. You can use this for hats, jackets, or overlays on pants. In the Java Edition, you can turn these on and off in the settings.
Otherwise, you have complete creative freedom to create your own skin. It’s best to start by using an existing skin as a template. The flat texture of the skin can be a bit confusing if you don’t know which part is the arm and which is the leg.
How to Change Your Minecraft Skin
Now we’ll show you how to transfer your custom-made or downloaded skin into the game. This is easy in both editions!
For Java Edition
- Open the Minecraft Launcher. Navigate to the tab on the left for Java Edition.
- You will find the “Skins” tab on the top bar. There, you can see your current skin as well as some pre-made skins from Mojang.
- Click on “New Skin.” First, give it a name to find it later. Choose between the wide or slim model. As mentioned earlier, remember this setting.
- Upload the .png file of the skin. It should appear on the left side immediately.
- Choose your cape. These capes are obtained for special events and can be assigned to your character.
- Click on “Save and Use” in the bottom right corner.
For Bedrock Edition
- Open the Minecraft Launcher and start the Minecraft Bedrock Edition (now “Minecraft for Windows”).
- In the main menu, click on the “Dressing Room” on the right. Here, you can customize your skin without a file. Some options are free, while others require real money.
- To upload your own skin, find the hanger icon and the Classic Texture Skins in the left menu. Select the gray skin under “Owned Skins” and then click on “Choose New Skin” at the bottom right of the window. Select the desired .png file and upload it. Then choose between wide and slim.
- Check in the first menu of the Dressing Room to ensure the correct skin is selected.
Conclusion - Skins for Everyone!
The Minecraft skin is a fantastic way to express your personality. Whether it’s the texture of your favorite character or just yourself, skins are wonderful and have been a part of the Minecraft community for many years. You’ll have the most fun creating your own skin and playing together with friends on a multiplayer server!
Related articles
Minecraft Capes: Every cape, events, and how to get them
Minecraft Skins: Where to Get Them and How to Change Them In-Game