Hello dear Minecraft fans! Welcome to our small but comprehensive guide on how to quickly and easily install shaders in Minecraft. This article is specifically designed for beginners and explains each step in a simple and understandable way, so hopefully no questions remain. With our guide, your gaming experience will be significantly improved by the impressive power of shaders. So prepare yourself to experience Minecraft like never before!
What is a Minecraft shader and why should you install it?
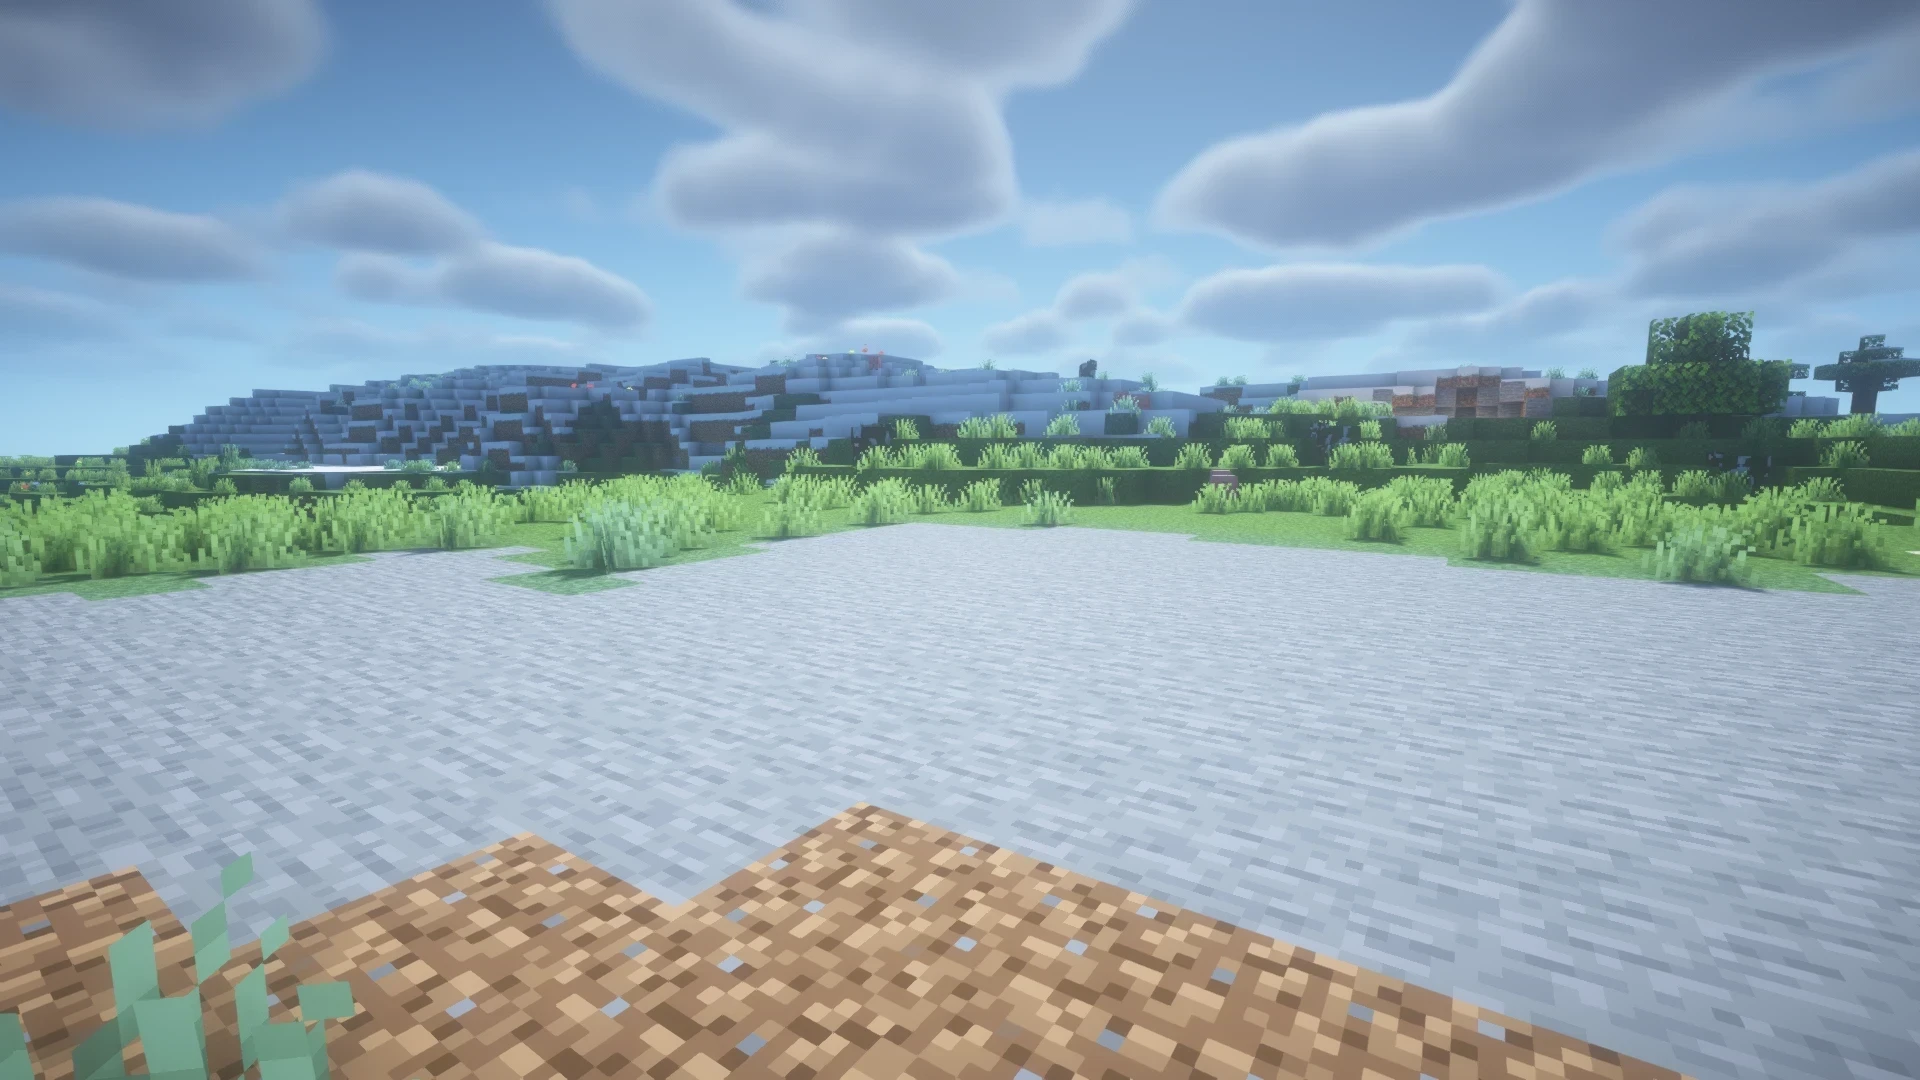
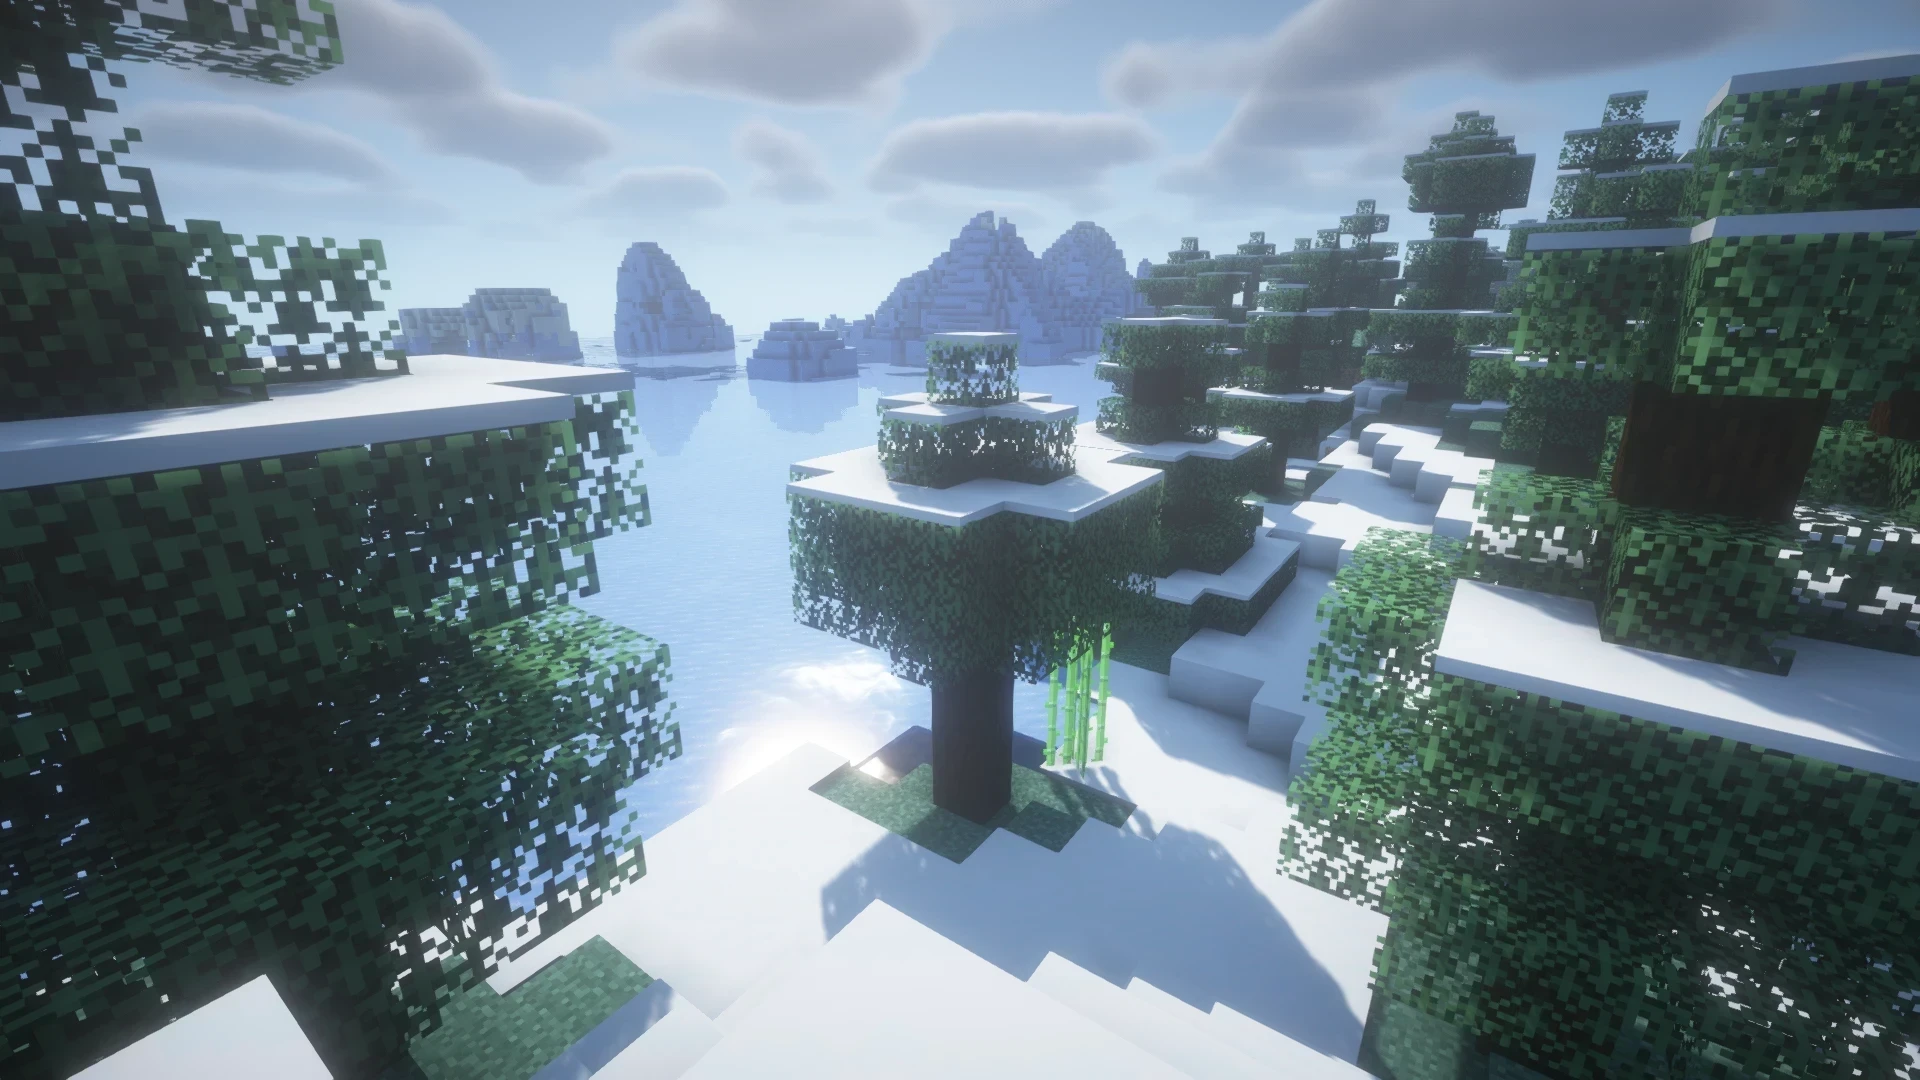
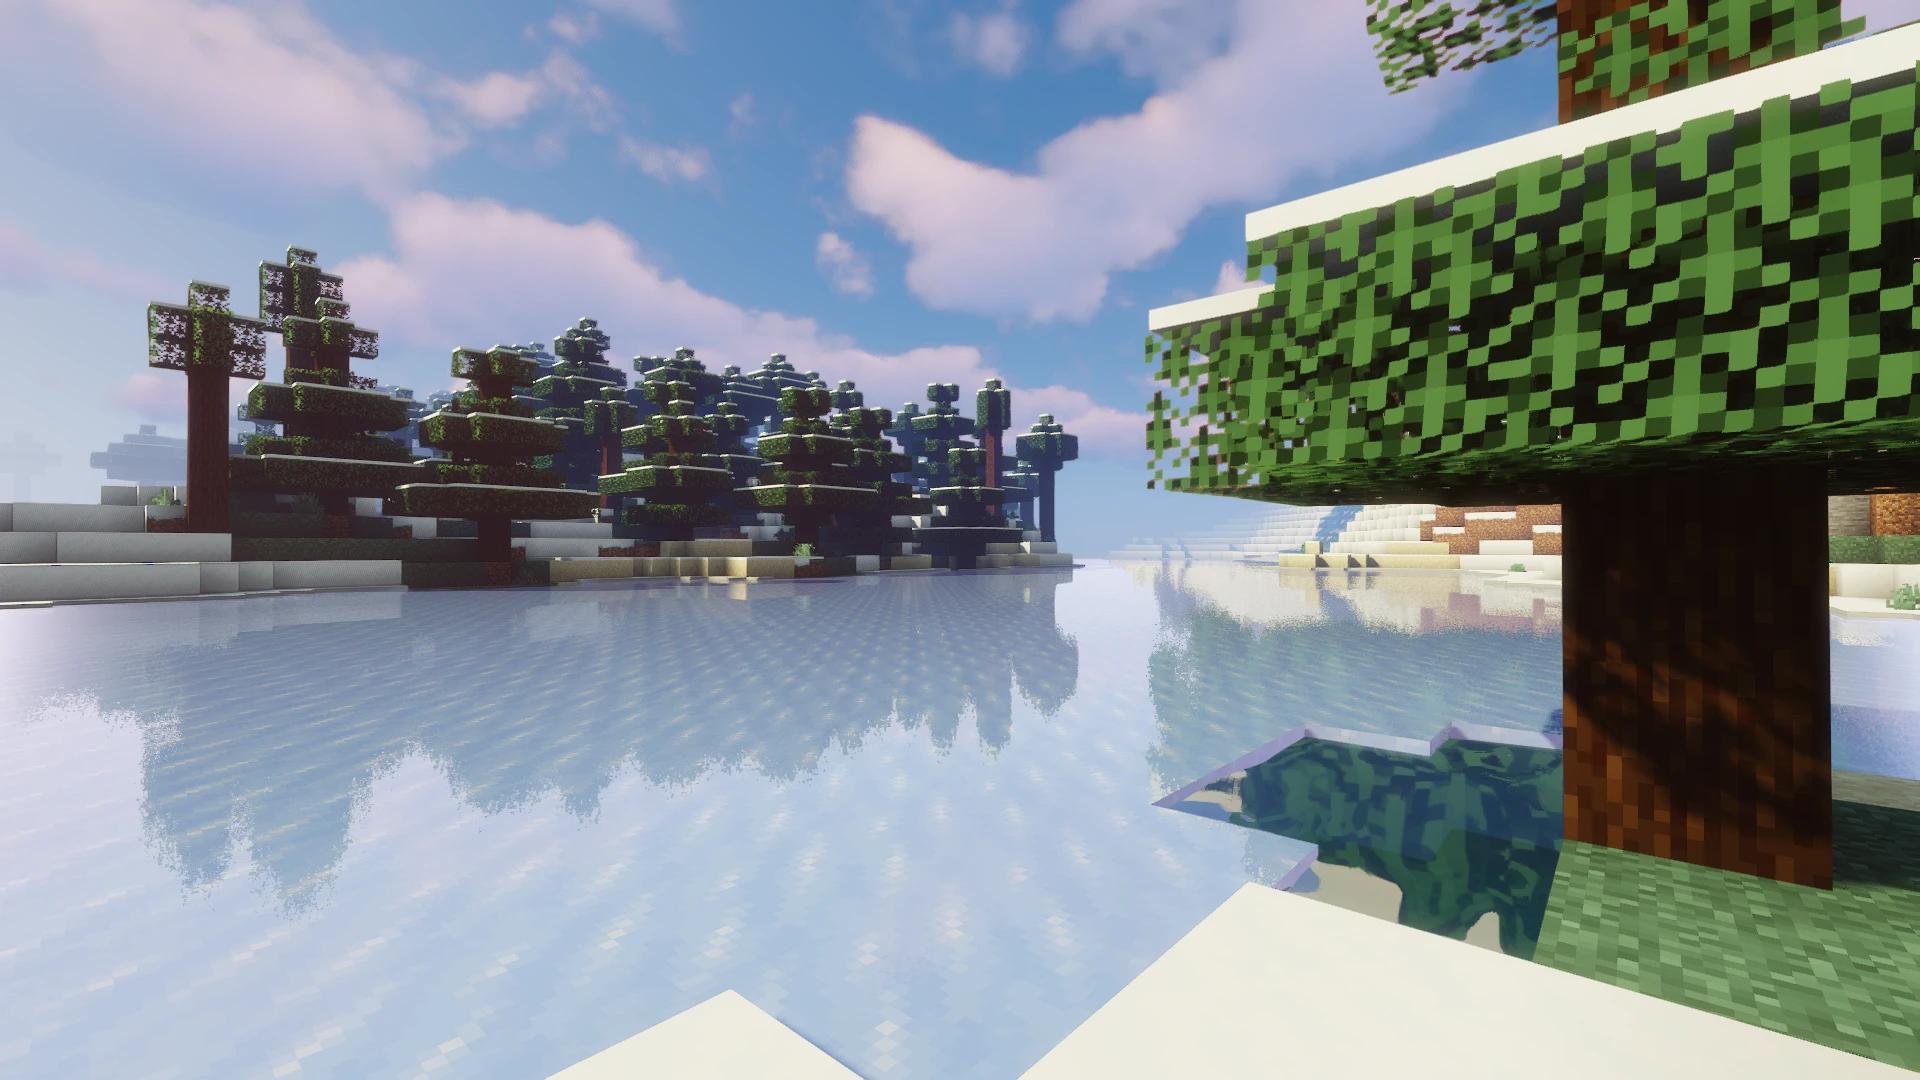
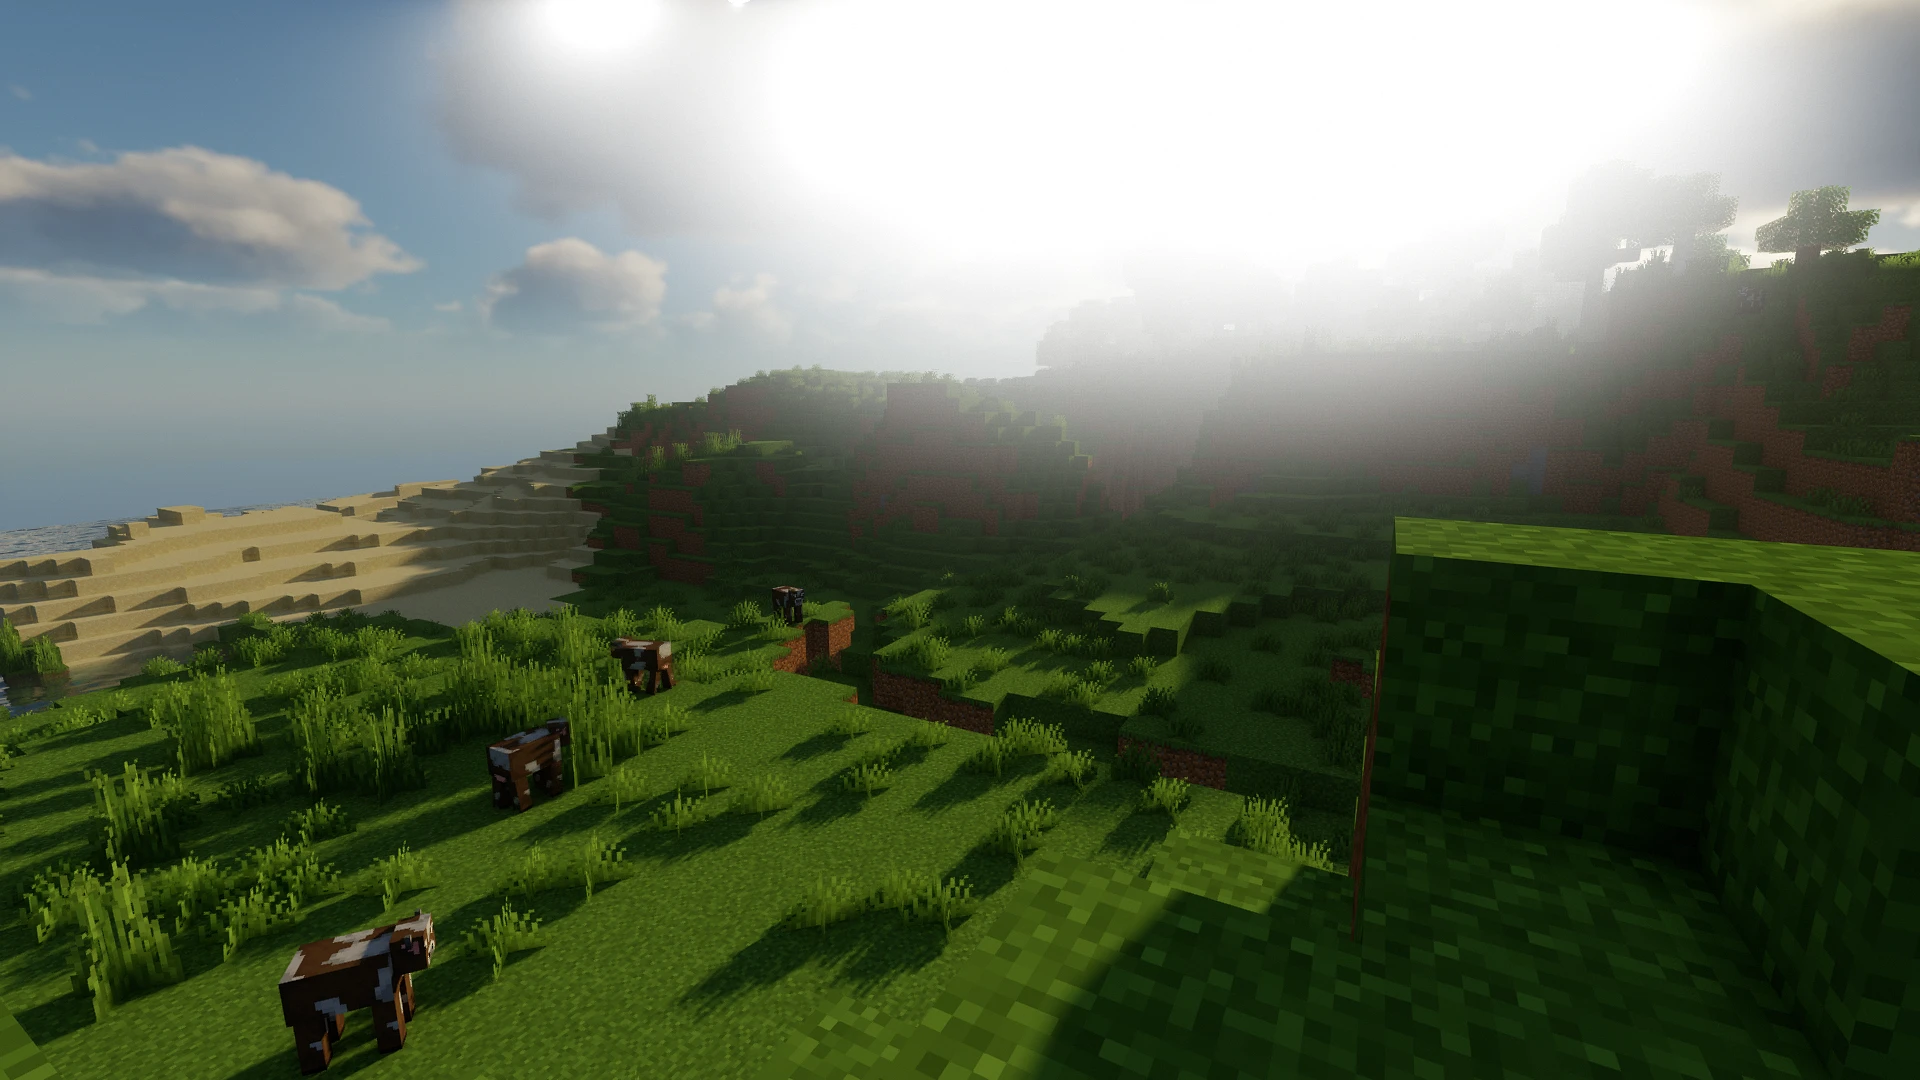
As in all games, shaders in Minecraft are special extensions that significantly improve the game’s graphical quality. Shaders provide more realistic lighting, shadows, and water reflections. To install Minecraft shaders, you need the latest version of OptiFine. Then you add the downloaded shader files to the “shaderpacks” folder in the Minecraft directory. Start Minecraft via OptiFine to select and activate the shaders.
The Best Shader Packs for Minecraft
BSL Shaders
The BSL Shaders for Minecraft are particularly known for their bright and colourful design. They offer real-time shadows, volumetric light, ambient occlusion, and bloom effects. Users can customise clouds and water and benefit from additional features such as depth of field, motion blur, and cell shading. These shaders are compatible with Minecraft: Java Edition and can be modified as desired, as long as changes are clearly marked and refer to the creator.
Complementary Shaders
The Complementary Shaders stand out for their exceptional attention to detail and high-quality standards. These shaders for the Minecraft Java Edition offer numerous high-quality effects and two visual style options: Unbound for a more realistic experience and Reimagined, which preserves the unique visual character of Minecraft. The Complementary Shaders also offer customisation options for almost every block in the game and are regularly updated to meet community standards.


Sildur’s Vibrant Shaders
Sildur’s Vibrant Shaders fundamentally change Minecraft’s lighting system by adding advanced effects like volumetric light, bloom, ambient occlusion, and reflections. These shaders are focused on performance and compatibility with various systems, including Macs and Intel GPUs. They are available in several presets and support a variety of Minecraft versions, making them particularly versatile.
Chocapic13’ Shaders
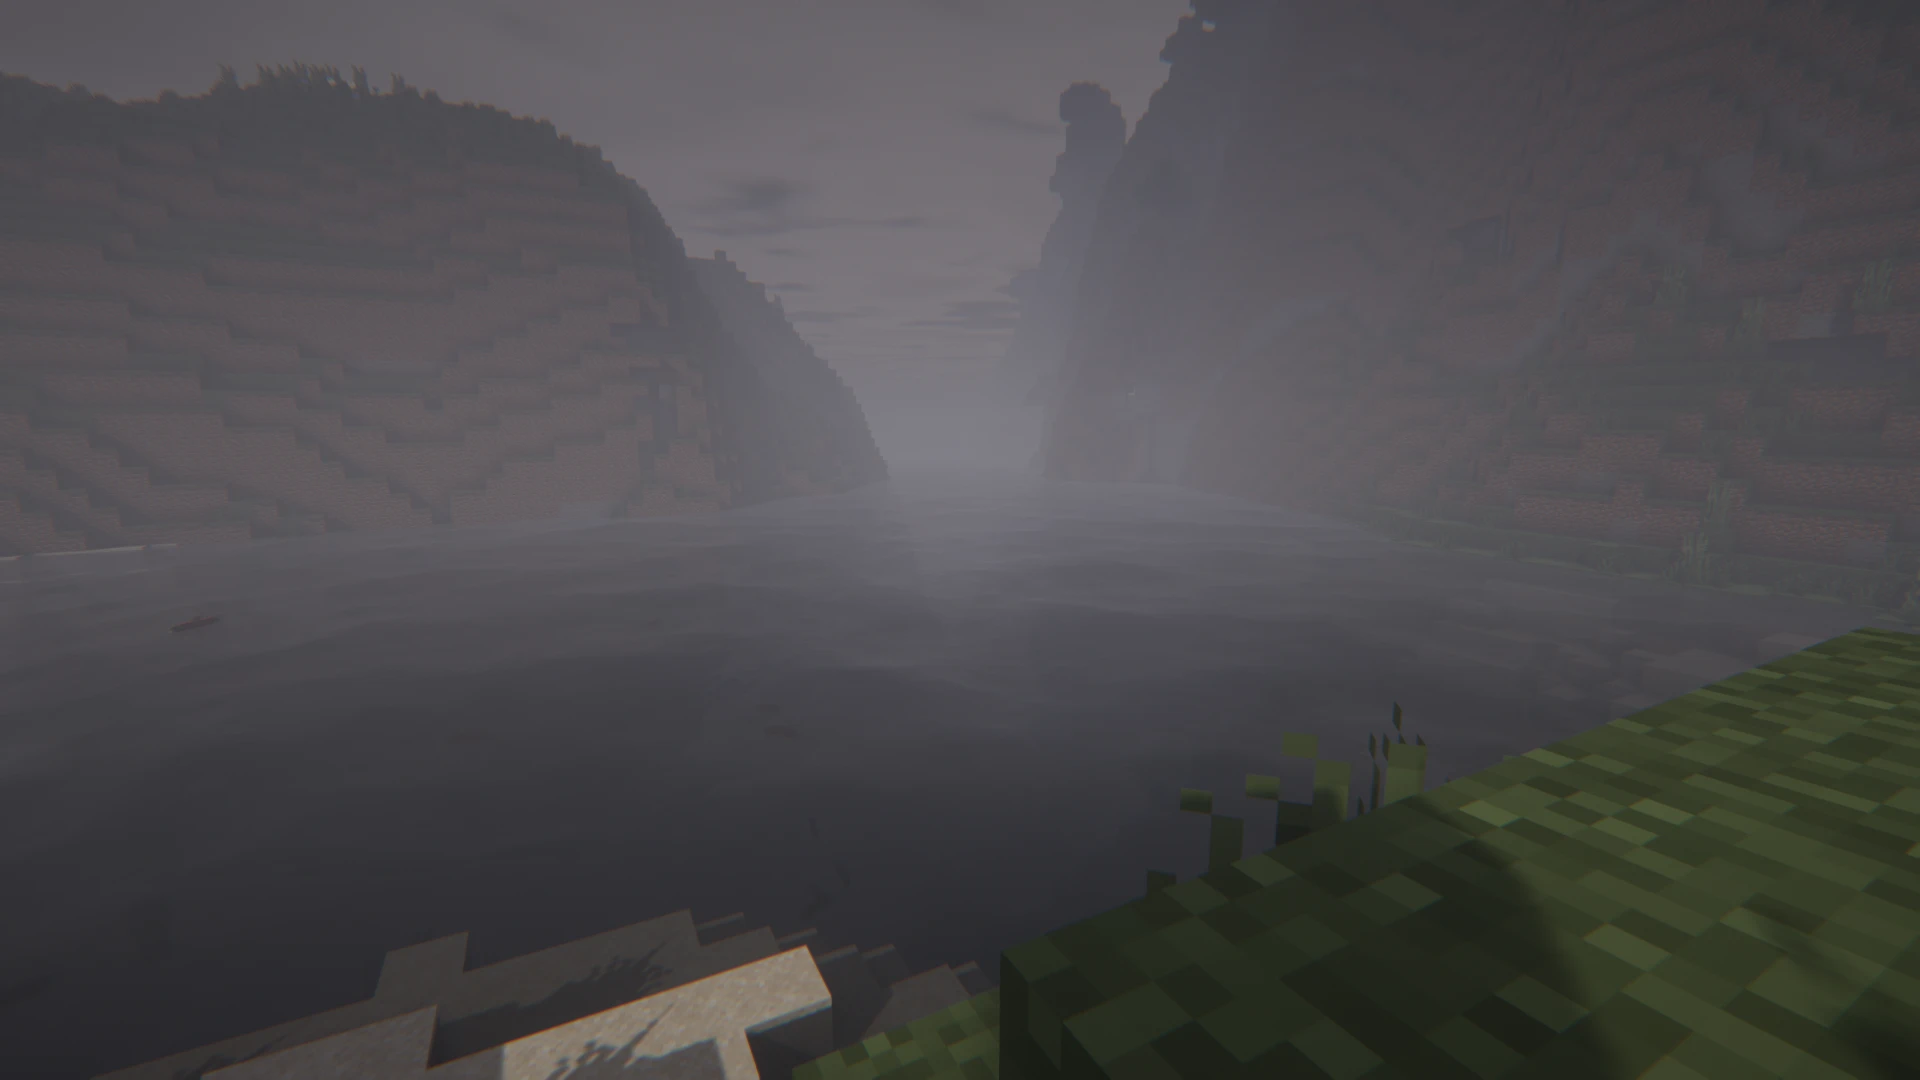
The Chocapic13’ Shaders offer high quality while paying attention to performance and are known for their realistic light effects and shadows. Particularly noteworthy are the dynamic times of day, volumetric fog and clouds, and water animations. These shaders are suitable for a wide range of hardware configurations and support various Minecraft versions, with specific optimizations available for each version.
Insanity Shader
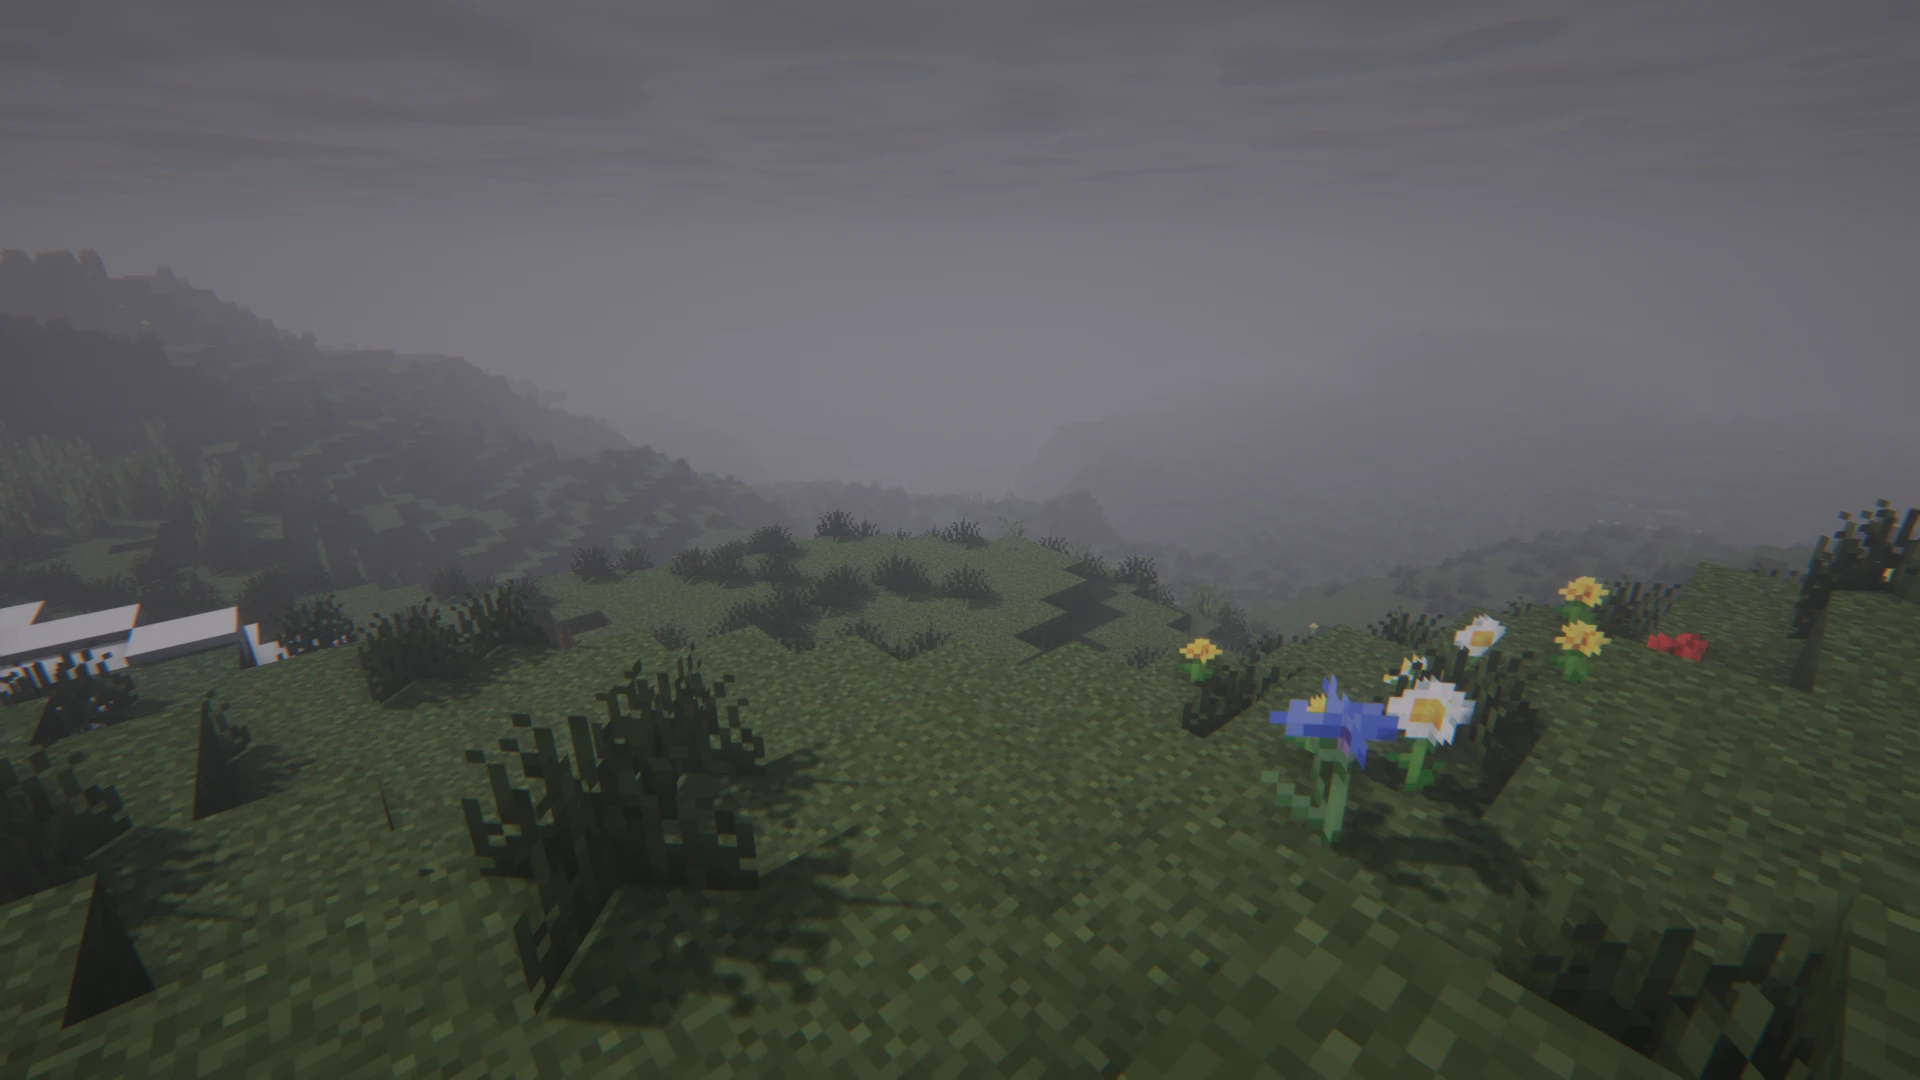
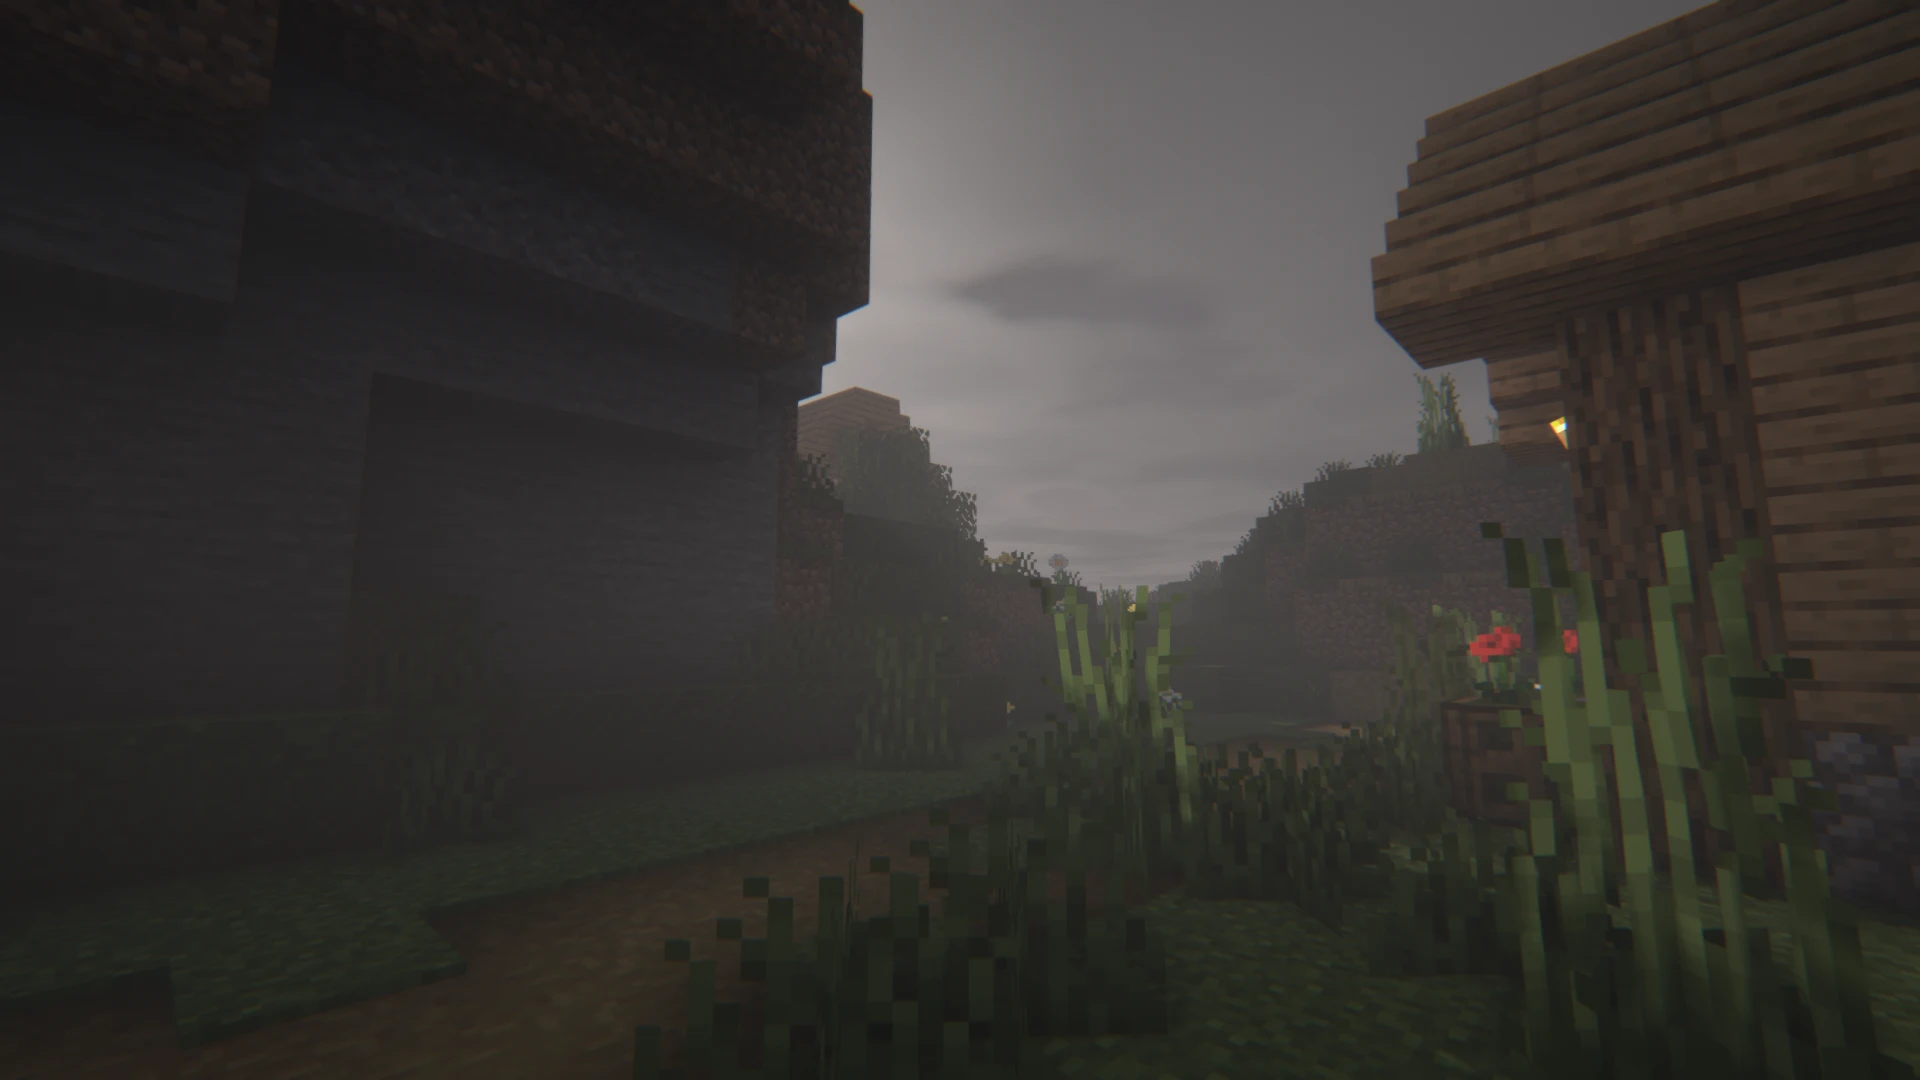
The Insanity Shader for Minecraft is a highly customizable shader characterized by a horror-inspired, dark theme. This shader extends the effects of the BSL Shader and offers improved weather effects, from foggy mornings to stormy rainfalls. The user interface is user-friendly, and the shader runs on most modern PCs, optimized also for less powerful graphics cards. The atmosphere is described as particularly creepy, ideal for horror mod packs.
Preparing to Install Minecraft Shaders
- System Requirements and Compatibility
Before installing shaders, make sure your computer meets the system requirements. Shaders typically require a powerful graphics card to function optimally. Also, check if your Minecraft version is compatible with OptiFine, with the OptiFine page also providing extensions for older Minecraft versions for download. If for any reason you prefer not to play with the current version, you can still use shader extensions.
- Backing Up Your Minecraft Data
It is extremely important to back up your Minecraft data. This will prevent data loss in case something goes wrong during installation. You can do this by simply copying the Minecraft folder and saving it as a copy.
Step-by-Step Guide to Installing Shaders
- Downloading and Installing OptiFine
Visit the official OptiFine website and download the latest version that is compatible with your Minecraft version.
Run the downloaded file to install OptiFine.
- Selecting and Downloading Shader Packs
There are a multitude of shader packs that OptiFine provides and from which you should now choose one. This can be somewhat overwhelming at first, but don’t worry, as shaders can also always be deleted and swapped. We recommend starting with a pack from the popular options: SEUS (Sonic Ether’s Unbelievable Shaders), Continuum Shaders, and Sildur’s Vibrant Shaders. You can download these shaders from trusted Minecraft community websites.
- Integrating Shader Packs into Minecraft
After you have downloaded your preferred shader packs, copy the files into the “shaderpacks” folder within your Minecraft directory. Start Minecraft via OptiFine and select “Options” and then “Video Settings” in the menu and choose the “Shaders” option. Here you can activate your downloaded shaders.
Problems and Solutions with Shader Installation
If you encounter problems, check if OptiFine is correctly installed and if the shaders were correctly activated in the game. A common problem is that the shader is not compatible with your version of Minecraft or OptiFine. In this case, you should look for a suitable version of the shader or update OptiFine.
The Best Shader Packs for Minecraft
In our community, some shader packs have proven to be particularly popular, including SEUS, Continuum, and Sildur’s Vibrant Shaders. These provide an excellent graphic improvement and are relatively easy to install. Feel free to experiment and try out different shaders - many give Minecraft a completely new look through unique effects!
Conclusion: Your New Minecraft Experience with Shaders
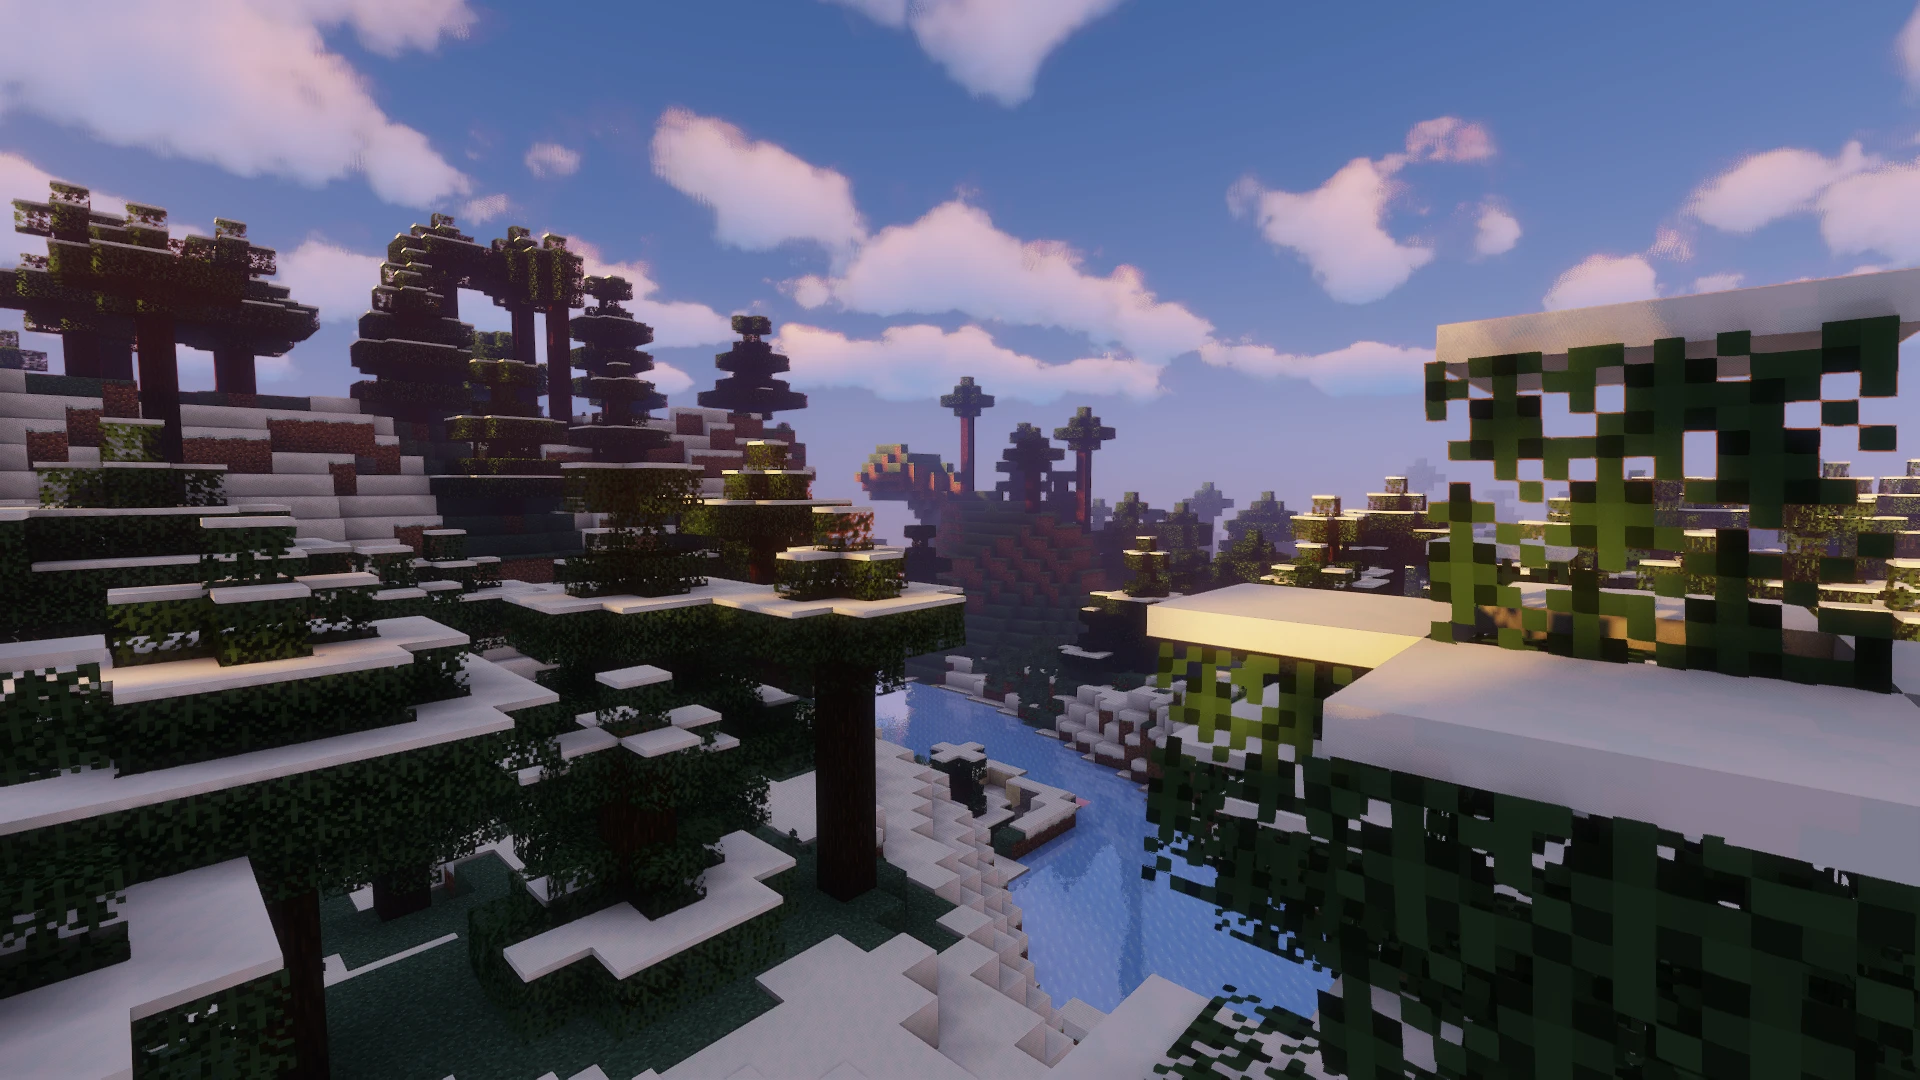
With the right shaders, Minecraft becomes visually more impressive and immersive. Don’t forget to regularly back up your game data and ensure that your hardware meets the requirements. Have fun exploring your new, improved Minecraft world!
If you want to take the experience with friends to the next level, renting your own Minecraft server is an excellent option. On a private server, you can have control over the gaming environment, customise mods as you wish, and build a community with like-minded players. To learn more about how to easily and quickly rent and start your own Minecraft server, visit the 4NetPlayers website. There you will find all the necessary information and help to configure and manage your server, so you and your friends can enjoy the ultimate Minecraft experience.
Frequently Asked Questions and Answers about Minecraft Shaders
Can every computer run Minecraft shaders?
The system requirements vary, but usually more powerful graphics cards are required.Should Minecraft data be backed up before installation?
Yes, it is strongly recommended to make a backup to avoid data loss.Why don’t I see any changes after installation?
Check if the shader was correctly activated in the game and if OptiFine is properly installed.How can I uninstall or switch shaders?
Shaders can be uninstalled or replaced by simply removing them from the shader folder.