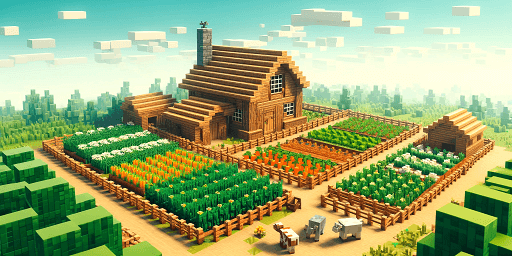
Once you’ve survived your first few days in Minecraft and familiarised yourself with the game, it’s time to focus on establishing a permanent base. For most players, this primarily means setting up a farm with fields and animals. This not only creates a place to live but also provides renewable sources of food and other resources. In this post, we’ll guide you step by step on how to easily set up and run your own farm. This will give you a solid foundation for all your future endeavours, so you no longer need to worry about food supplies or proper housing.
Minecraft Farm Basics: Fields, Animals, and Resources
A good location is key for a farm. Feel free to wander around until you find a suitable spot. It should be as flat as possible, but you can also use your shovel to flatten or build up the land to create a suitable area for your farm. A small house and some chests for essential tools are a good idea. Build your farm near a water source, as you’ll soon need it.
Other tools you should prepare for a farm:
- Fences and Gates
- Bucket
- Shovel
- Hoe
- Possibly Gravel
- Possibly Bone Meal
Setting Up Minecraft Fields: How to Build an Efficient Food Source
Once you’ve made all the preparations, you can start setting up your field. Choose a flat, open space to begin. It’s important to understand how water behaves in Minecraft. If you use a water source and pour it into a trench for your farm, it will flow over eight blocks. Based on that, farm fields can be irrigated up to four blocks away. This is crucial to prevent them from turning back into dirt or slowing the growth of your crops.
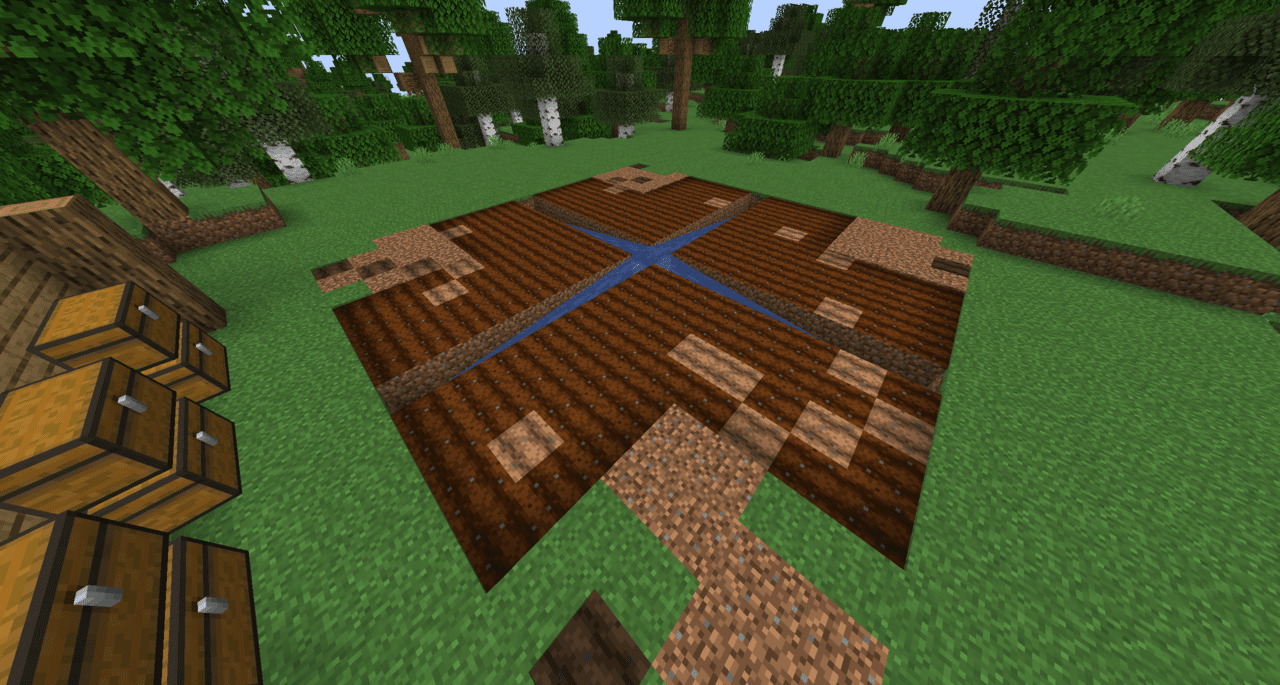
Initially, a single water source is sufficient. It can adequately irrigate a 9x9 field. You can use the entire area as a field or add paths with a shovel or gravel for decoration. You should also enclose the field with fences and gates to ensure only you can access it.
You can design the layout yourself. If you’ve already found a village, take inspiration from their fields! Otherwise, the appearance is entirely up to you. Just consider the irrigation range of the soil.
Things you can plant
With the hoe, you can right-click on grass, dirt, or other soil types to turn them into farmland. This is your starting point for your farm. We’ll quickly go over all the crops.
Wheat:
- Location: As wheat seeds from grass
- Use: Bread, hay bales, cake, cookies, animal breeding
Carrot:
- Location: Village, zombies, chest
- Use: Golden carrot, rabbit stew, carrot on a stick, animal breeding
Potato:
- Location: Village, zombies, chest
- Use: Baked potato, animal breeding
Beetroot:
- Location: Beetroot seeds from village, chest
- Use: Animal breeding, red dye, beetroot soup
Pumpkin Seeds:
- Location: Village, wilderness
- Use: Pumpkin head, pumpkin pie
Melon Seeds:
- Location: Village, jungle
- Use: Melon slice, glistering melon slice
Tip: Plant different crops next to each other, as this speeds up growth! This mechanic is meant to mimic the behaviour of real farms, which also thrive better with diversity. Monoculture is less effective, so feel free to add some variety to your field.
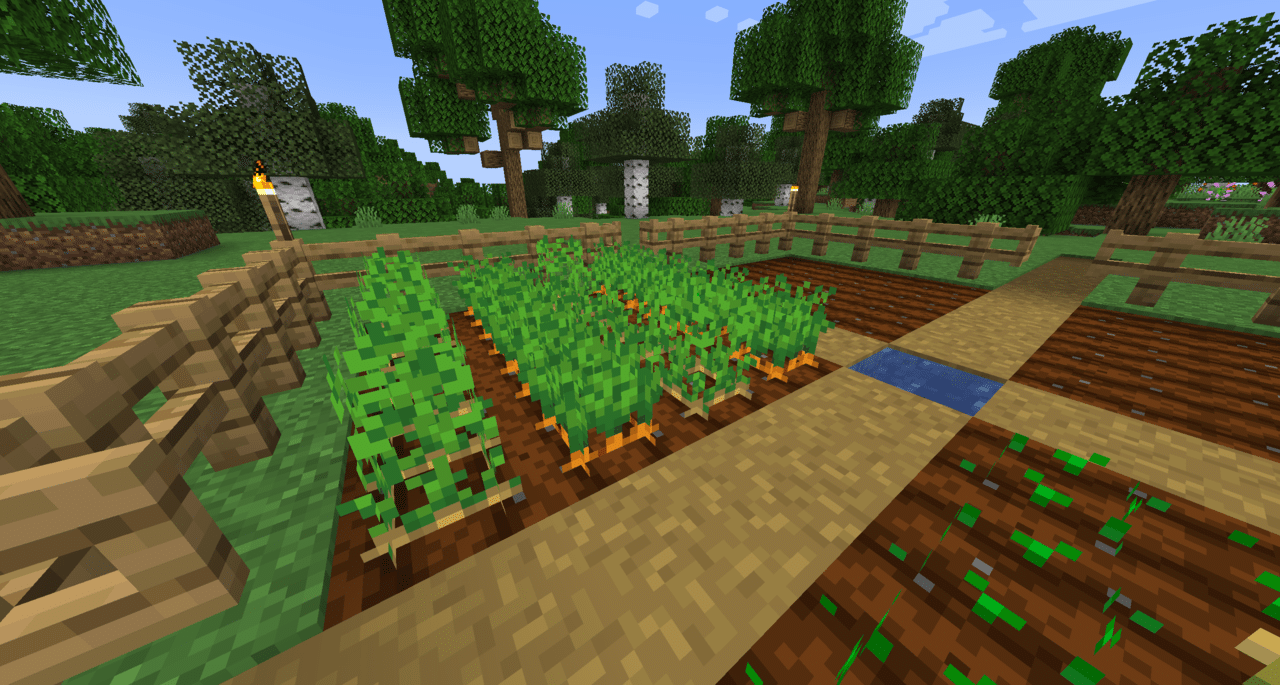
Minecraft Field Maintenance: Tips for Harvest and Growth
Once your field is properly set up and irrigated, not much can go wrong. Wait for your first harvest to grow, which can take several days. As mentioned earlier, bone meal can be used to speed up the growth of your crops. You can obtain it from skeleton bones or by using compost.
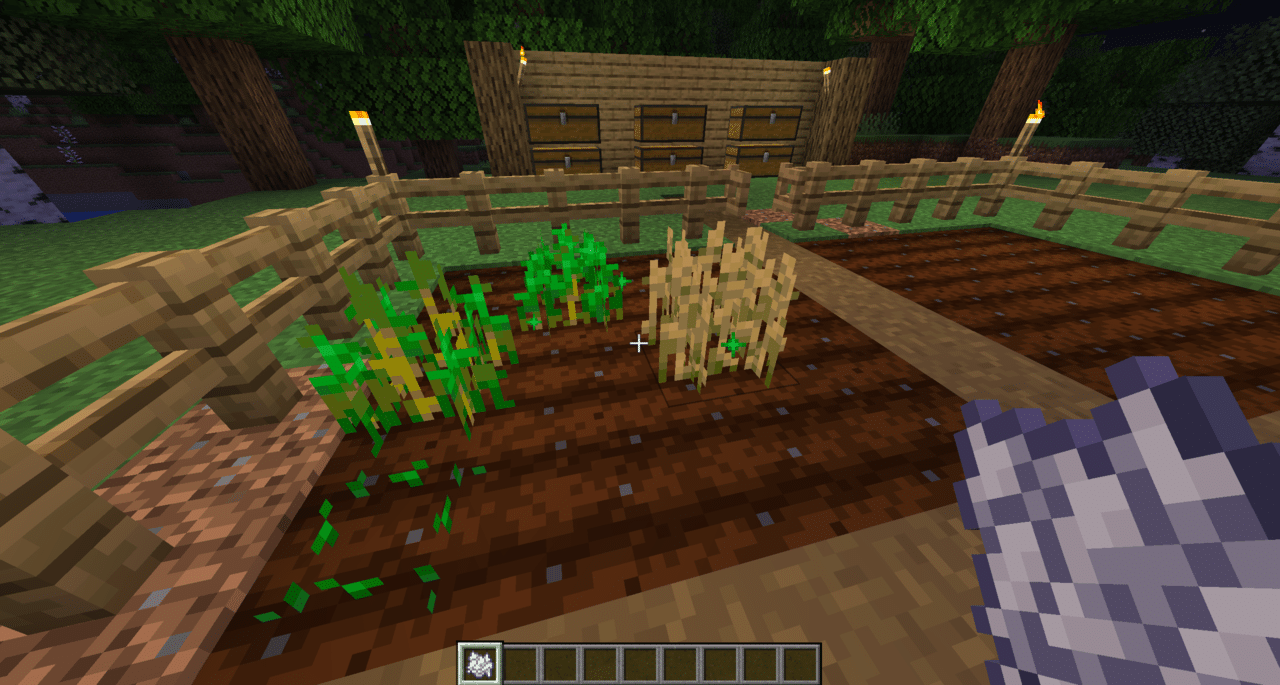
You can recognise maturity by the growth stage. If the vegetable’s colour is already visible, it’s ready! Harvest with a left-click. You will either receive multiple items at once or additional seeds. Depending on the crop, you can replant these and likely have a good surplus as profit.
Breeding Minecraft Livestock: Simple Guide for Food and Resources
You don’t necessarily need to set up a field for your food needs; you can also keep animals. However, the field becomes important for breeding livestock. To breed your animals, you’ll need appropriate feed.
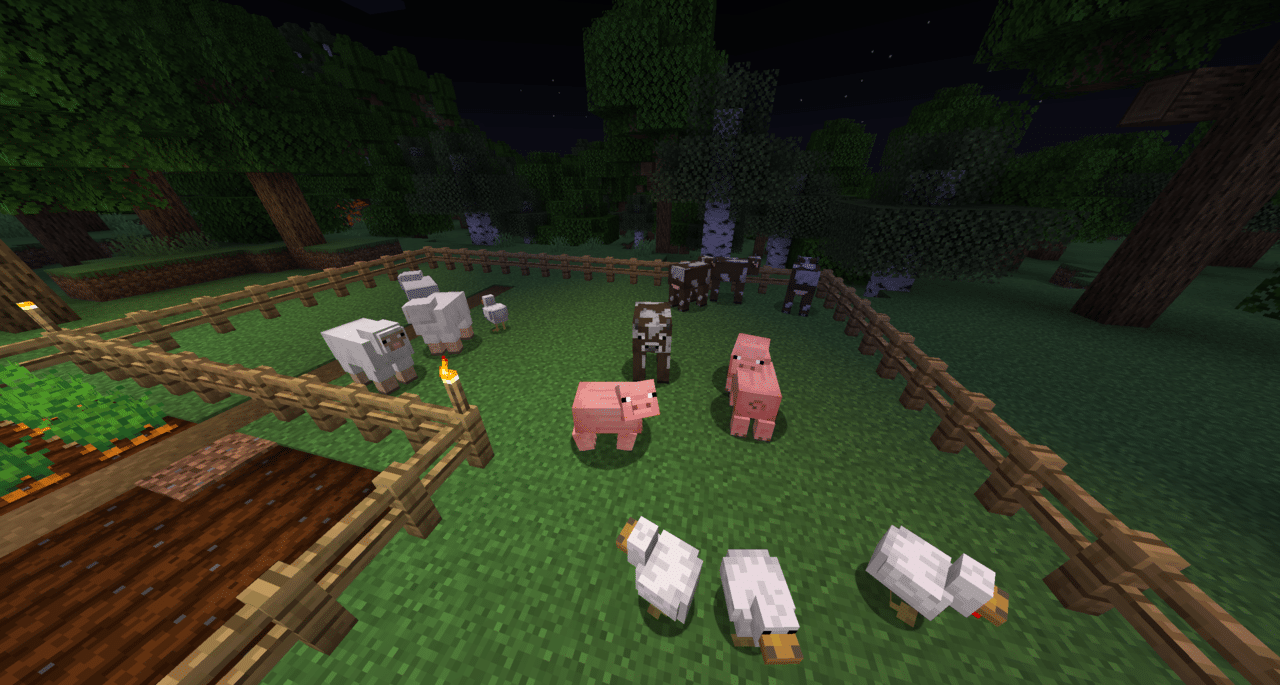
Animals are not only good for food but also for other important resources. Once you have two adult animals of a kind, you’re well-equipped. Breeding allows you to easily increase their numbers and expand your herd. Keep the animals in an enclosure to prevent them from wandering off. The field can be as large or as small as you wish, but give your virtual animals some space to roam.
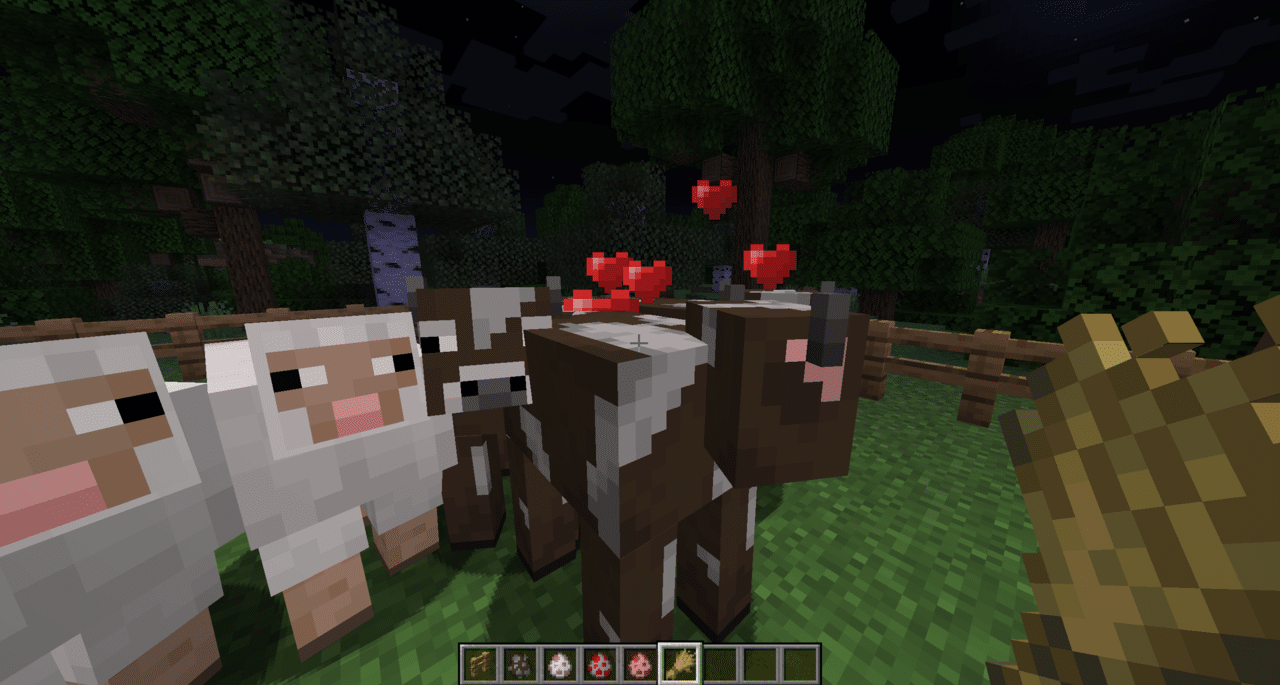
Breed animals by right-clicking on two animals with their feed. They will then show hearts, and voilà! A baby animal is born! You’ll also gain some experience. The animal grows within a few minutes.
Minecraft Livestock: All Resources and How to Breed Them
Here’s a quick overview of the most important animals to look out for. You can lure them to your farm with their favourite food or lead them if you already have a lead. To obtain their products, you must kill the animals. It’s better for your health to cook the meat in a furnace.
Cows:
- Required for Breeding: Wheat
- Products: Raw beef, leather, milk
Pigs:
- Required for Breeding: Carrots, potatoes, beetroot
- Products: Raw porkchop
Sheep:
- Required for Breeding: Wheat
- Products: Raw mutton, wool (also available without killing, using shears)
Chickens:
- Required for Breeding: Any type of seeds
- Products: Raw chicken, feathers, eggs (dropped by chickens)
Conclusion: Why a Farm in Minecraft is Essential
Your first farm will likely also be your very first permanent home in Minecraft, providing you with a wonderful foundation to expand from and explore the world. With a well-stocked field and livestock, you create a solid base for food supply and other necessary resources later on. Of course, you can also build your farm together with others. Imagine building your farm on your own server, where you set the rules and collaborate with friends. Rent your Minecraft server now and make the most of your game!
More interesting articles
Build an Automatic Wheat Farm in Minecraft: Unlimited Wheat with Minimal Effort
Build an Automatic Chicken Farm in Minecraft: Unlimited Eggs, Feathers & Chicken Meat
Minecraft Automatic Fishing: Guide to Endless Food and Rare Treasures
Minecraft Hunger & Food: Saturation, best foods, farms
Minecraft Guide: Automatic Potato and Carrot Farm for Unlimited Food and Smart Trading Options

